
I needed a recoverable backup for an existing physical Windows Server 2016 machine without shutting down the server and without deploying a separate Veeam Backup & Replication server.
In this post, I install Veeam Agent for Microsoft Windows, create a Recovery Media ISO, and configure an entire-computer backup to a Synology NAS over SMB. In the tested run, the first full backup completed successfully while Windows remained online.
Goal
- Online image-level backup of a running Windows Server
- Entire-computer recovery, including the Windows and boot partitions
- Incremental backups after the first full backup
- Backup storage on a separate Synology NAS
- Bootable recovery media for bare-metal restore
- A daily schedule with 7 successful backup days of retention
Veeam uses Microsoft VSS to create a consistent snapshot before reading the volume data. The server does not need to be shut down for a normal backup.
For database workloads, keep native SQL Server backups and test database restores separately. Treat the image-level backup as an additional recovery layer rather than a replacement for database-level protection.
Environment
- Source OS: Windows Server 2016 Standard
- Backup software: Veeam Agent for Microsoft Windows 13.1
- Backup mode: Entire computer
- Destination: Synology NAS shared folder over SMB/CIFS
- Example NAS path:
\\nas.example.local\Backups\SERVER01 - Example NAS account:
veeam-backup - Schedule: Daily at 12:30 AM
- Retention: 7 successful backup days
The examples below use placeholder hostnames and paths.
Why I Used Veeam Agent Here
This is a small environment with one physical Windows Server to protect. A standalone Veeam Agent is enough for this scope: it creates an image-level backup, supports incremental restore points, and can recover the complete machine from bootable media.
The backup target is a separate NAS, so a failure of the server's internal disks does not remove the backup at the same time. This setup is intentionally simpler than deploying a centralized Veeam Backup & Replication server.
Prerequisites
Before starting, prepare the following:
- A supported Windows Server with administrator access
- The Veeam Agent for Microsoft Windows installer from the official Veeam download page
- A Synology shared folder with enough free space
- A dedicated NAS account with read/write access to the backup folder
- A safe location outside the server for the recovery ISO
For the NAS account, grant permission to traverse the parent folders and read/write the final backup folder. Do not use a personal NAS administrator account for the backup job.
1. Install Veeam Agent for Microsoft Windows
Extract the downloaded Veeam Agent package and run the installer as Administrator.
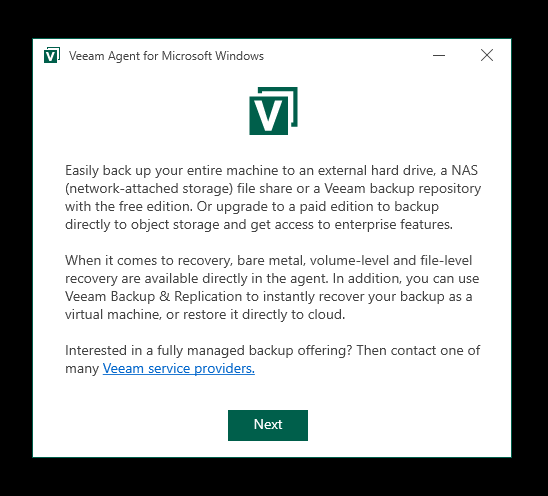
On the welcome page, click Next.
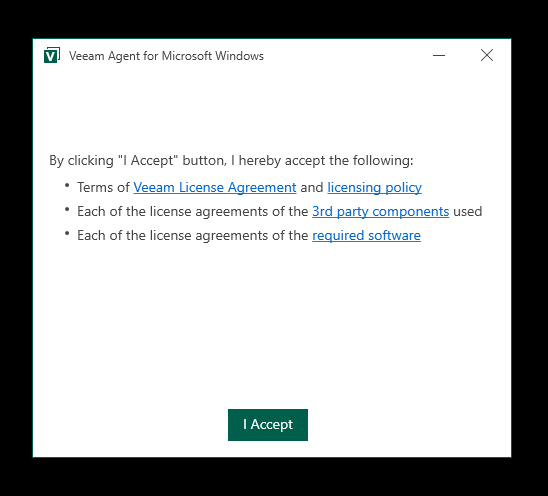
Review the license terms and click I Accept.
The installer adds the required components, including the OpenSSL FIPS redistributable. Wait for the installation to finish.
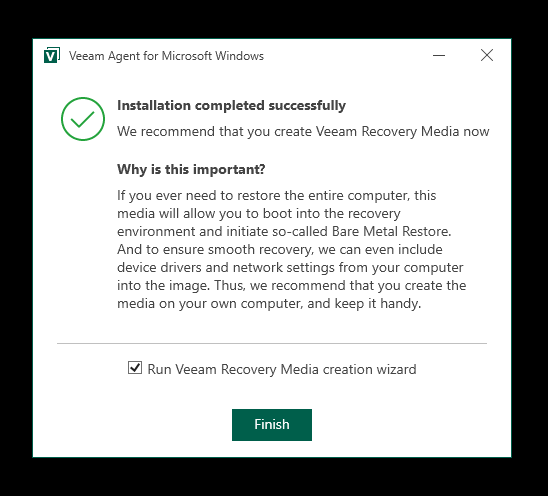
When the installation completes, leave Run Veeam Recovery Media creation wizard enabled and click Finish.
2. Create the Veeam Recovery Media ISO
Recovery Media starts a Windows Recovery Environment with the Veeam restore tools. It is required when the original Windows installation or system disk can no longer boot.
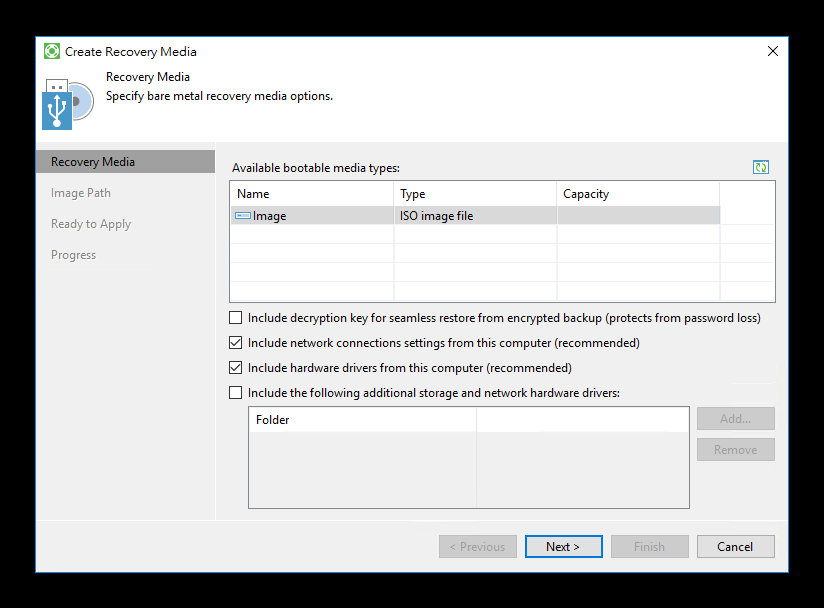
Select ISO image file. Keep these options enabled:
- Include network connection settings from this computer
- Include hardware drivers from this computer
On a server without Wi-Fi, Veeam may display a warning about the Wireless LAN Service. This does not prevent creation of an ISO for a wired Ethernet recovery environment. Acknowledge the warning and continue.
Choose a local filename, for example:
C:\Users\Administrator\Documents\VeeamRecoveryMedia_SERVER01.iso
Review the settings and click Create.
Wait while Veeam mounts the recovery environment, copies drivers and system files, and creates the ISO.
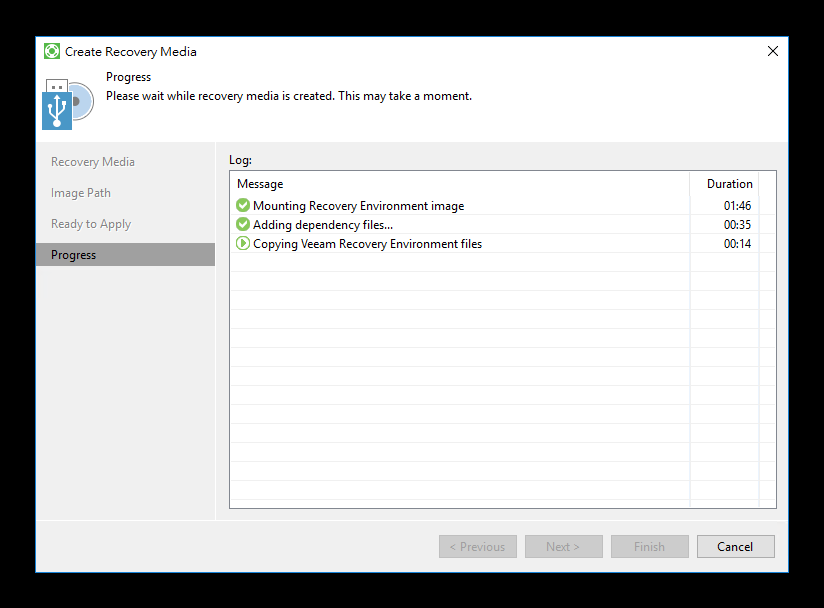
After all steps show a green check mark, click Finish.
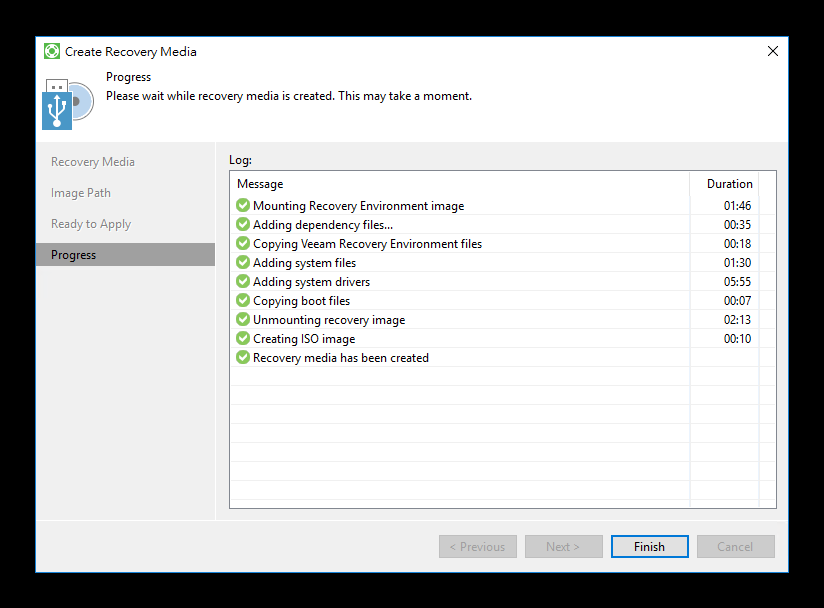
Copy the finished ISO to the NAS or another system. Do not keep the only copy on the server being protected.
3. Create an entire-computer backup job
Open Veeam Agent and create a new backup job.
Give the job a descriptive name, for example:
SERVER01 Daily NAS Backup
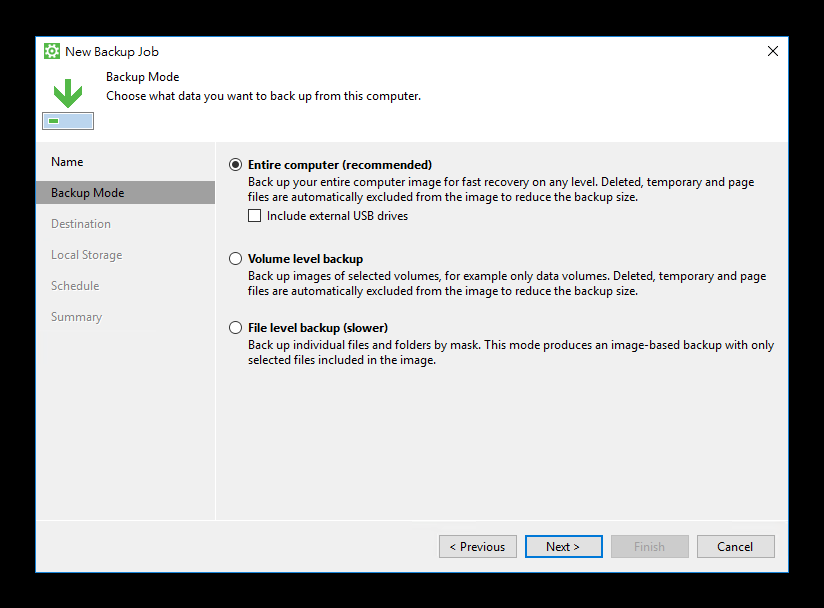
For Backup Mode, select Entire computer. This includes the Windows volume and the partitions required for boot and bare-metal recovery.
For Destination, select Shared folder.
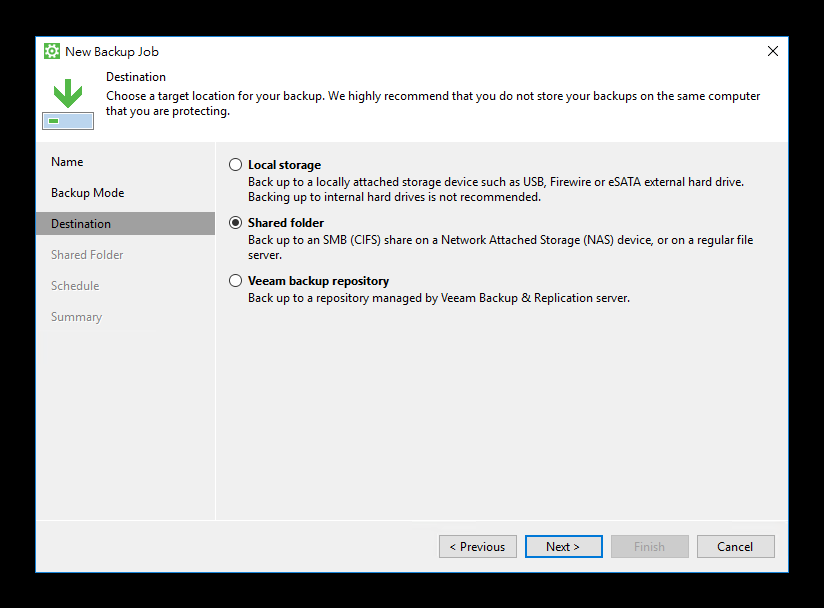
Enter the NAS UNC path:
\\nas.example.local\Backups\SERVER01
Enable This share requires access credentials, then enter the dedicated NAS backup account and password.
Set Keep backups for to 7 days.
Veeam creates the first full backup and then stores incremental restore points. Veeam evaluates retention using successful backup days rather than elapsed calendar days, so seven days does not always mean exactly seven backup files. Older restore points are removed according to the official short-term retention policy.
4. Configure the daily schedule
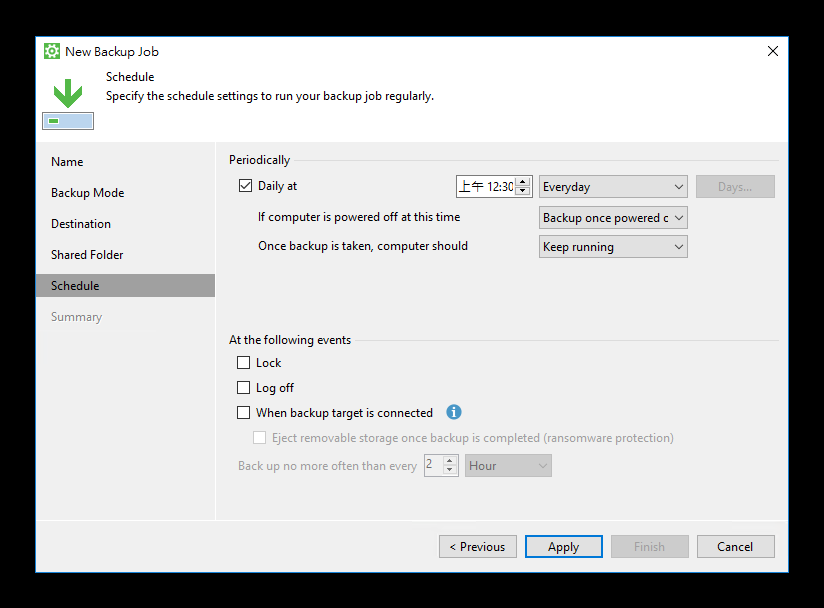
Enable Daily at and select a time when server activity is normally low. In this setup, I configured the job for 12:30 AM.
Also set:
- If the computer is powered off at this time: Backup once powered on
- Once backup is taken, computer should: Keep running
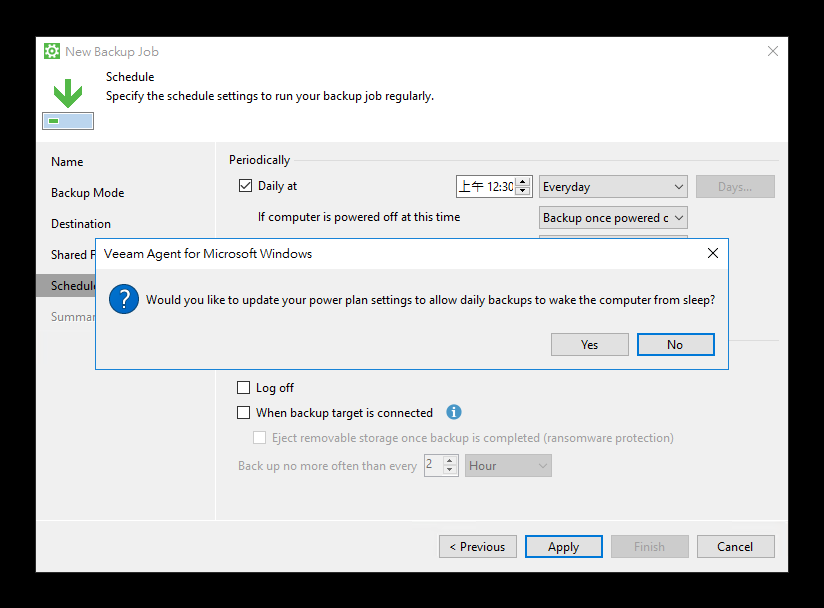
If Veeam asks to update the Windows power plan, choose Yes. This allows a scheduled backup to wake the computer if Windows is asleep. On an always-on server this normally makes no practical difference, but enabling it prevents a backup from being skipped because of sleep.
Review the summary. Enable Run the job when I click Finish for the first test, then click Finish.
When Veeam asks whether to install a license file, choose No. This setup uses Veeam Agent Free and does not require a license file.
5. Verify the first backup
The first run is a full backup and normally takes much longer than later incremental runs. Its duration depends on the used disk space, disk speed, NAS performance, and network bandwidth.
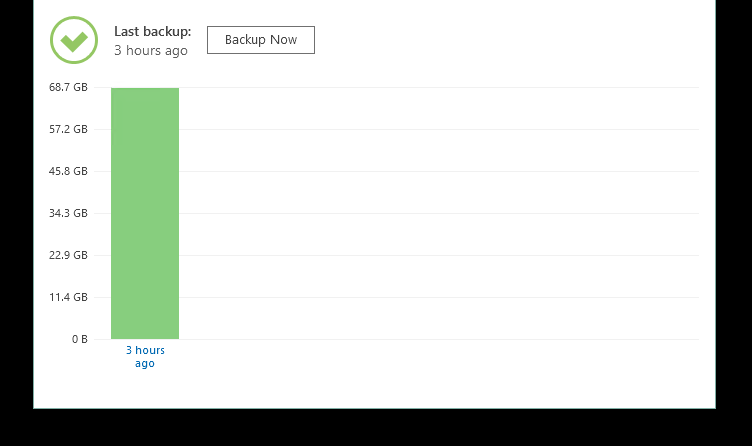
After completion, the Veeam Agent window should show a green status indicator and the time of the last successful backup.
Also verify the NAS side:
- A backup folder exists for the protected computer
- New Veeam backup files have been created
- The NAS still has enough free capacity for the configured retention period
- The next scheduled run appears in Veeam Agent
Recovery Checklist
A backup is not complete until the recovery path is prepared.
- Keep the recovery ISO outside the protected server
- Record where the NAS backup is stored
- Keep the NAS recovery credentials in a secure password manager
- Confirm the replacement machine can reach the NAS over Ethernet
- Periodically open Veeam Agent and verify that recent restore points are available
- Perform a test restore when practical
If the server disk fails, boot the replacement machine from Veeam Recovery Media, connect to the NAS share, select a restore point, and run a bare-metal recovery.
Final Result
Veeam Agent is now protecting the complete Windows Server 2016 system while it remains online. The first full backup is stored on the Synology NAS, subsequent runs are incremental, and the recovery ISO provides a path to restore the machine even when Windows no longer boots.
This is a practical setup for a small environment that needs recoverable Windows Server backups without deploying a separate Veeam Backup & Replication server.