Lens is a desktop Kubernetes IDE that connects directly to the Kubernetes API server. The key to a stable setup is importing a kubeconfig that points to a high-availability API endpoint (VIP / HAProxy / load balancer), not a single control-plane node IP.
This post is based on the following posts:
What you’ll do
- Verify Windows can reach the Kubernetes API endpoint
- Install Lens on Windows 11
- Import kubeconfig into Lens using Copy/Paste
Lab Context (Bare Metal)
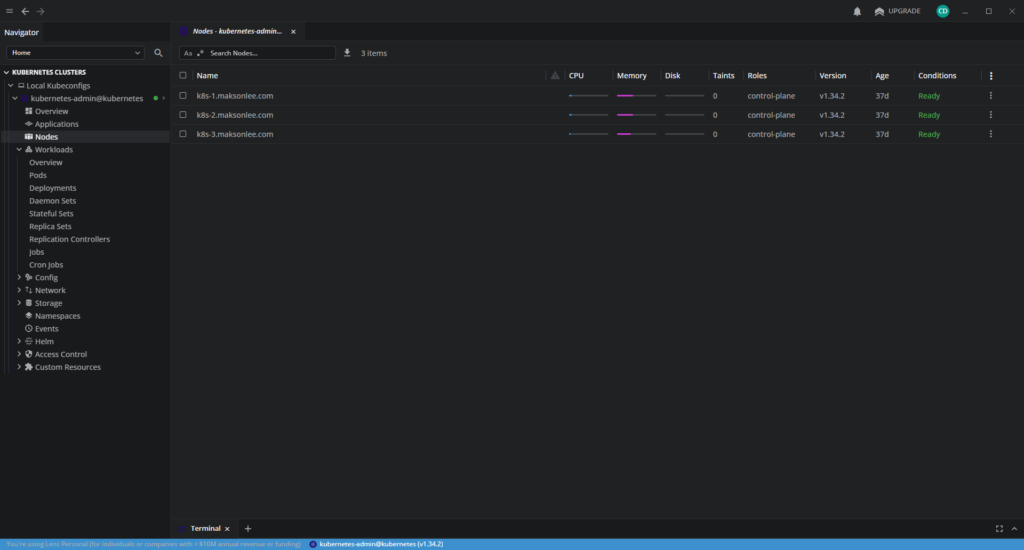
- Nodes:
k8s-1.maksonlee.com → 192.168.0.99k8s-2.maksonlee.com → 192.168.0.100k8s-3.maksonlee.com → 192.168.0.101
- Kubernetes: kubeadm (v1.34.x)
- API VIP (kube-vip):
k8s.maksonlee.com → 192.168.0.97:6443
- Ingress (Traefik via MetalLB):
192.168.0.98(not used by Lens)
Prerequisites (Windows 11)
DNS + network reachability to the API VIP
From Windows PowerShell:
Resolve-DnsName k8s.maksonlee.com
Test-NetConnection k8s.maksonlee.com -Port 6443Both must work.
- Install Lens on Windows 11
- Download the Lens Windows installer (for example, Lens Setup 2025.12.101934-latest.exe) from the official Lens download page.
- Run the installer.
- Launch Lens.
- Import kubeconfig via Copy/Paste
Lens supports importing kubeconfigs via UI:
- Kubernetes Clusters → Local Kubeconfigs → Add kubeconfigs → Paste
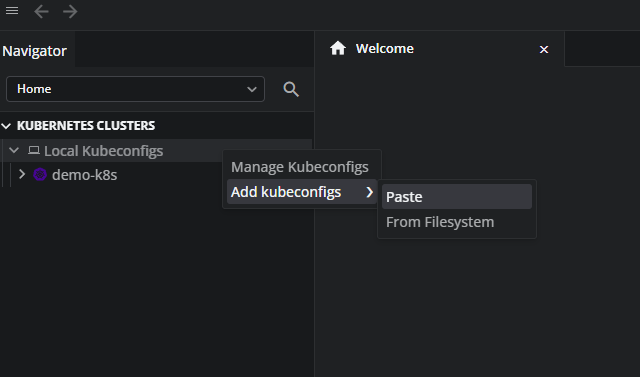
This avoids copying files from Linux to Windows.
Important: kubeconfig must use the kube-vip VIP
The kubeconfig should contain:
server: https://k8s.maksonlee.com:6443If it points to a single control-plane node IP (for example https://192.168.0.99:6443), Lens will break when that node is down.
Lens UI Screenshots
Cluster Overview:

Cluster Nodes:
Did this guide save you time?
Support this site