Category
Networking & Connectivity
1. Install the ACME Client Plugin
- Go to
System → Firmware → Plugins - Find
os-acme-client - Click Install
- Reboot OPNsense (optional but safe)
2. Create Your Let’s Encrypt Account
- Go to
Services → ACME Client → Accounts - Click + Add
Name:letsencrypt
E-Mail: your valid email address - Click “Save” to create the ACME account
3. Create Cloudflare API Token
You’ll need this to allow OPNsense to modify DNS records for validation.
- Log in to your Cloudflare account
- Go to My Profile → API Tokens
- Click Create Token
- Use the “Edit zone DNS” template
Set:
Zone Resources → Include → Specific zone →yourdomain.com
Permissions → DNS:Edit - Save and copy the token somewhere safe
4. Create DNS-01 Cloudflare Challenge Type
- Go to
Services → ACME Client → Challenge Types - Click + Add
Name:cloudflare
DNS Service: CloudFlare.com
CF API Token: paste the API Token from Step 3 - Save
5. Create Post-Issue Automation (Action)
- Go to Services → ACME Client → Automations
- Click + Add
Name: restart opnsense web ui
Run Command:Restart OPNsense Web UI - Click Save
6. Add Certificate Entry
- Go to
Services → ACME Client → Certificates - Click + Add
Common Name:your.domain.com
ACME Account: letsencrypt
Challenge Type:cloudflare
Automations: restart opnsense web ui - Save
7. Issue the Certificate
- Go to
Services → ACME Client → Certificates - Click Issue or renew certificate next to your cert
- Go to Log Files -> ACME Log and verify issuance succeeded
8. Apply Cert to WebGUI
- Go to
System → Settings → Administration - Under SSL Certificate: select
your.domain.com - Save and Apply
You may need to re-login to the WebGUI with your domain + HTTPS (e.g., https://your.domain.com)
9. Enable Plugin & Auto-Renewal
- Go to
Services → ACME Client → Settings - Check “Enable Plugin”
- Click Save
This Will:
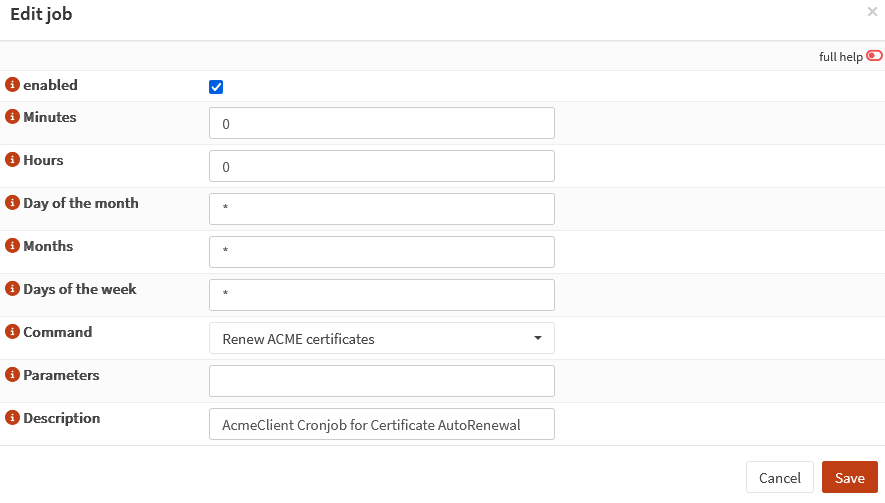
- Automatically create a cron job
- Handle renewal automatically
- Trigger automations like
Restart OPNsense Web UIwhen renewed