This guide creates a Google Cloud service account, generates its JSON key, invites that account in Play Console, wires up Gradle Play Publisher (GPP) in code, and finishes with the exact CLI tasks to ship.
- Google Cloud Console — Create Service Account & Key
- Service Accounts → Create service account → name it (e.g.,
gpp-publisher) → Create and continue → Skip roles → Done.
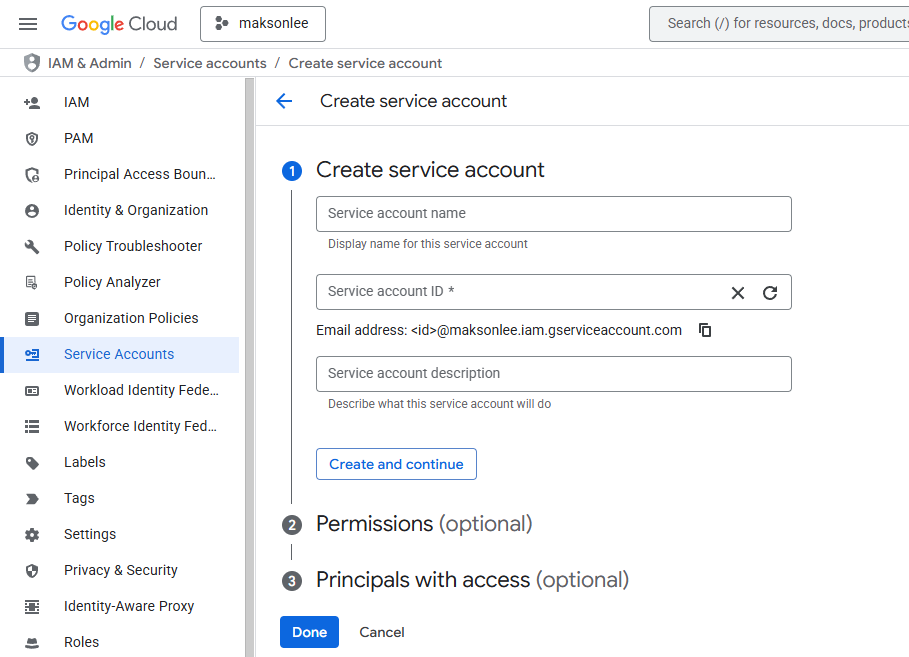
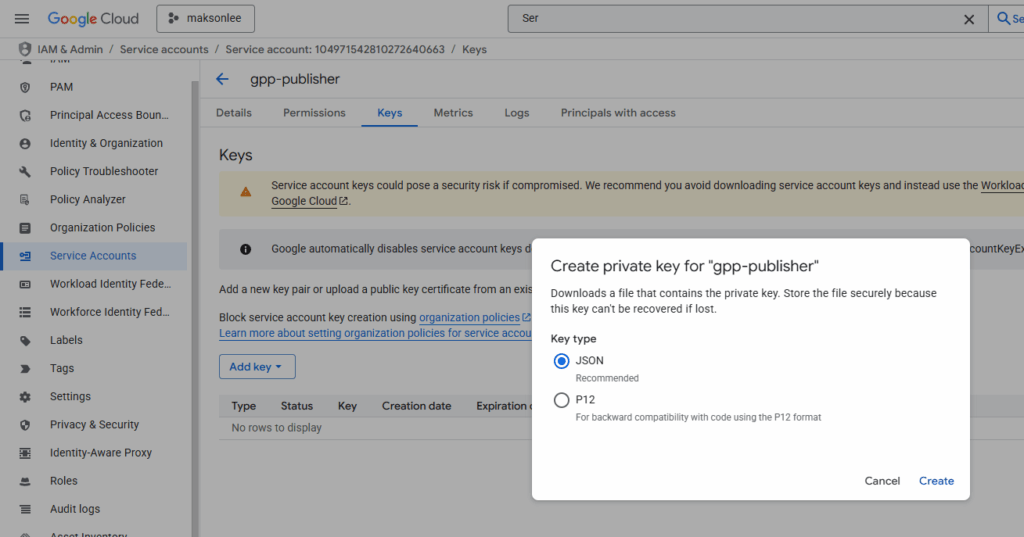
- Open that service account → Keys → Add key → Create new key → JSON → download to:
D:/keys/play/maksonlee-2db639d0ad6c.json
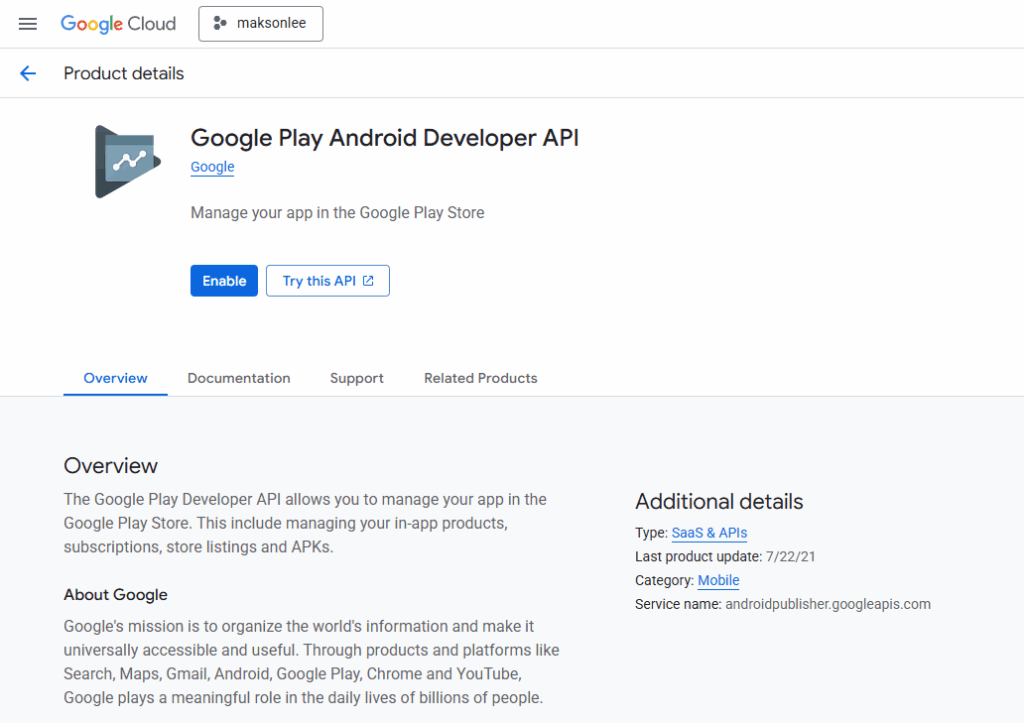
- APIs & Services → Enable APIs and Services → enable Google Play Android Developer API.
- Google Play Console — Invite the Service Account
- Users and permissions → Invite new users.
- Email = the service account (e.g.,
gpp-publisher@<project>.iam.gserviceaccount.com). - Select the app(s) you want to grant access to.
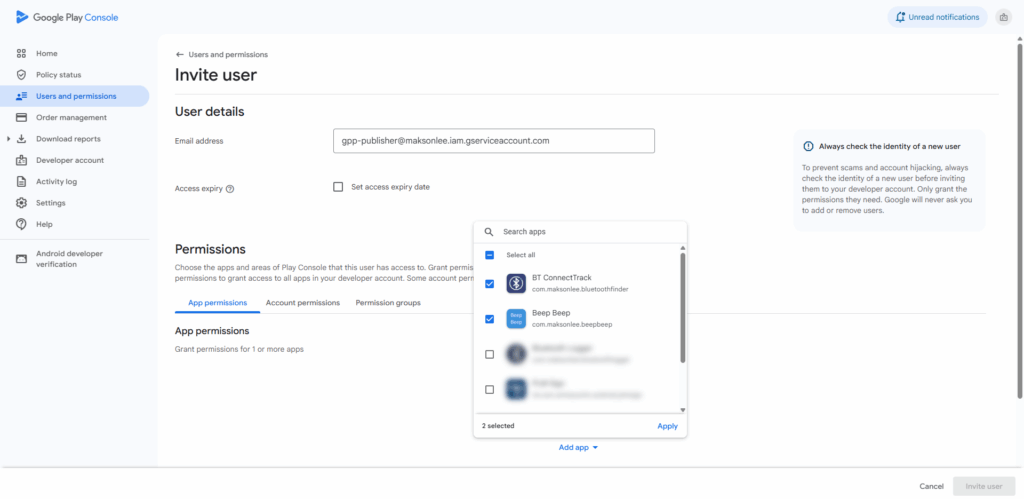
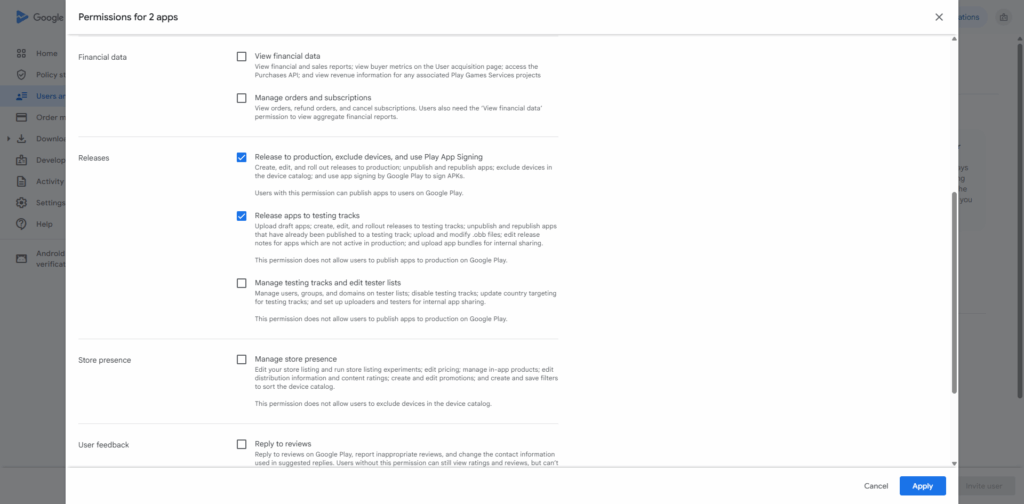
- Grant (per selected app):
- ✅ Release to production, exclude devices, and use Play App Signing
- ✅ Release apps to testing tracks
- (Optional) View app information (read-only)
- Project wiring
- settings.gradle.kts
Ensure the plugin portal is present:
pluginManagement {
    repositories {
        google()
        mavenCentral()
        gradlePluginPortal()
    }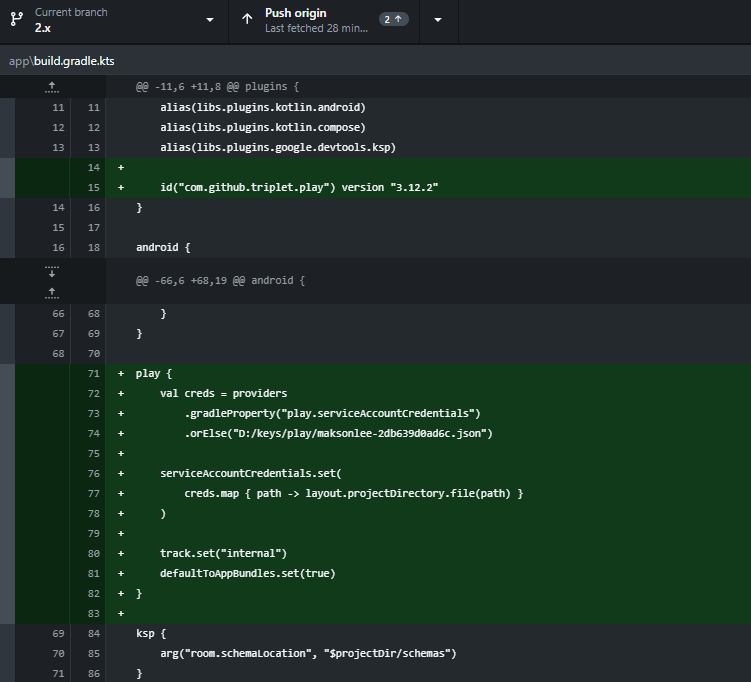
}- app/build.gradle.kts
Add GPP and minimal config. We point to external JSON path by default and allow CLI override.
(Uses RegularFile mapping so the property type matches.)
- Publish via CLI
- Internal (uploads to the Internal testing track; within that track it rolls out to 100%):
./gradlew :app:publishReleaseBundle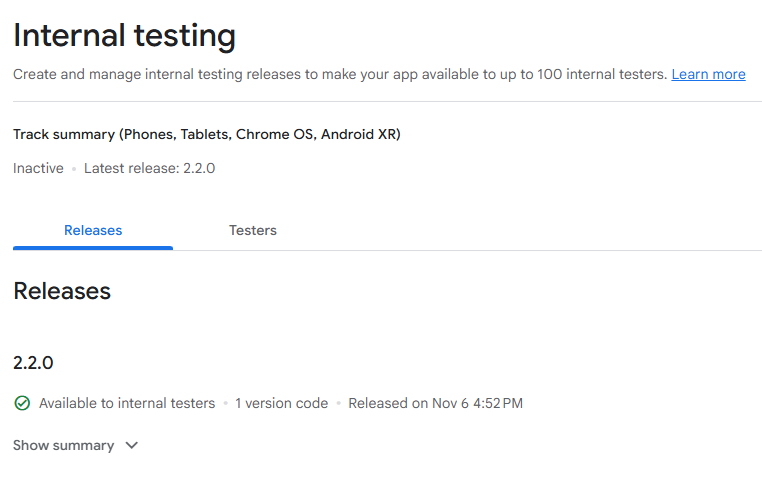
Note: “Full rollout” on Internal only affects testers in that track; it does not publish to the general public.
- Promote Internal → Production (two-step flow):
./gradlew :app:promoteReleaseArtifact --from-track internal --promote-track production
Did this guide save you time?
Support this site