- Become root user
Start new shell session with root privileges.
sudo su -- Install Zabbix repository
wget https://repo.zabbix.com/zabbix/7.4/release/ubuntu/pool/main/z/zabbix-release/zabbix-release_latest_7.4+ubuntu24.04_all.deb
dpkg -i zabbix-release_latest_7.4+ubuntu24.04_all.deb
apt update- Install Zabbix server, frontend, agent
apt install zabbix-server-mysql zabbix-frontend-php zabbix-nginx-conf zabbix-sql-scripts zabbix-agent2 - Create initial database
Make sure you have a database server up and running (I use MariaDB 11.4 — see: Install MariaDB 11.4 on Ubuntu 24.04).
Run the following on your database host.
mariadbMariaDB> create database zabbix character set utf8mb4 collate utf8mb4_bin;
MariaDB> create user zabbix@localhost identified by 'password';
MariaDB> grant all privileges on zabbix.* to zabbix@localhost;
MariaDB> set global log_bin_trust_function_creators = 1;
MariaDB> quit;On Zabbix server host import initial schema and data. You will be prompted to enter your newly created password.
zcat /usr/share/zabbix/sql-scripts/mysql/server.sql.gz | mariadb --default-character-set=utf8mb4 -uzabbix -p zabbixDisable log_bin_trust_function_creators option after importing database schema.
mariadbMariaDB> set global log_bin_trust_function_creators = 0;
MariaDB> quit;- Configure the database for Zabbix server
Edit file /etc/zabbix/zabbix_server.conf
DBPassword=password- Configure PHP for Zabbix frontend
Edit file /etc/zabbix/nginx.conf uncomment and set ‘listen’ and ‘server_name’ directives.
# listen 8080;
# server_name zabbix.maksonlee.com;- Start Zabbix server and agent processes
Start Zabbix server and agent processes and make it start at system boot.
systemctl restart zabbix-server zabbix-agent2 nginx php8.3-fpm
systemctl enable zabbix-server zabbix-agent2 nginx php8.3-fpm - Finish setup in the browser
- Open:
http://zabbix.maksonlee.com/(orhttp://<server-ip>/) - If you kept
listen 8080;, usehttp://<server>:8080/ - Follow the installer → set DB credentials → default UI login is Admin / zabbix.
- Secure your site with SSL
Install Certbot:
apt update
apt install -y certbot python3-certbot-dns-cloudflare python3-certbot-nginxCreate Cloudflare credentials:
mkdir -p ~/.secrets/certbot
vi ~/.secrets/certbot/cloudflare.iniAdd:
dns_cloudflare_api_token = YOUR_CLOUDFLARE_API_TOKENSecure the file:
chmod 600 ~/.secrets/certbot/cloudflare.iniRequest certificate:
certbot -a dns-cloudflare -i nginx \
  --dns-cloudflare-credentials ~/.secrets/certbot/cloudflare.ini \
  -d zabbix.maksonlee.com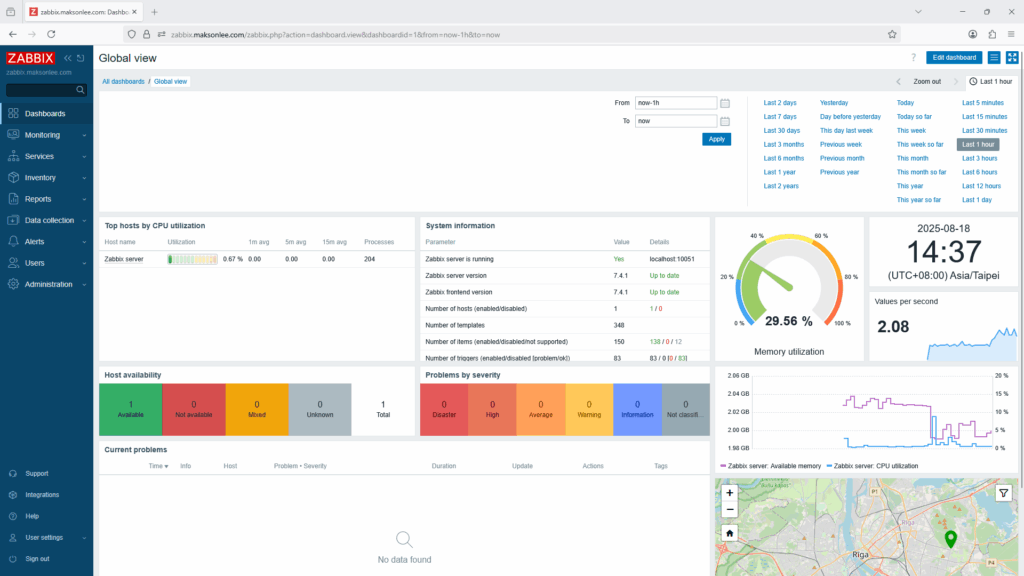
Did this guide save you time?
Support this site