Redmine is a powerful, flexible, and open-source project management and issue tracking tool. Whether you’re managing software development, operations tasks, or internal projects, Redmine provides a clean and extensible interface to track issues, collaborate across teams, and visualize timelines.
In this guide, we’ll walk through installing Redmine 6.0.6 on Ubuntu 24.04, backed by PostgreSQL, Ruby 3.3.8 via RVM, and protected by SSL using HAProxy and Let’s Encrypt (Cloudflare DNS challenge).
Why Redmine?
Redmine offers a wide range of features out of the box:
- Multi-project support
- Role-based access control
- Issue tracking with customizable workflows
- Gantt charts and calendar
- Time tracking
- Wiki and forum modules
- Plugin and theme support
- Email notifications
- Integrates with Git, SVN, Jenkins, and more
It’s a favorite among engineering and DevOps teams who want a self-hosted, open-source alternative to Jira.
Prerequisites
- Ubuntu 24.04 server
- A domain name (e.g.
redmine.maksonlee.com) - A Cloudflare API Token (for DNS-01 SSL challenge)
Install required packages:
sudo apt update
sudo apt install -y certbot python3-certbot-dns-cloudflare
sudo add-apt-repository ppa:vbernat/haproxy-3.2 -y
sudo apt-get install haproxy=3.2.\*
sudo systemctl enable --now haproxy- Install PostgreSQL
sudo apt install -y postgresql-common
sudo /usr/share/postgresql-common/pgdg/apt.postgresql.org.sh
sudo apt install postgresql-14Create the Redmine database:
sudo su - postgres
psqlCREATE ROLE redmine LOGIN ENCRYPTED PASSWORD 'my_password' NOINHERIT VALID UNTIL 'infinity';
CREATE DATABASE redmine WITH ENCODING='UTF8' OWNER=redmine;
\qExit redmine user:
exit- Download and Configure Redmine
curl -OL https://www.redmine.org/releases/redmine-6.0.6.tar.gz
tar xzvf redmine-6.0.6.tar.gz
sudo mv redmine-6.0.6 /opt/Create a Redmine system user:
sudo adduser --gecos 'Redmine' --disabled-password redmine
sudo chown -R redmine:redmine /opt/redmine-6.0.6- Install Ruby 3.3.8 with RVM
sudo apt install libpq-dev
sudo apt install -y bzip2 g++ gcc autoconf automake bison libffi-dev libgdbm-dev libncurses5-dev libsqlite3-dev libtool libyaml-dev make pkg-config sqlite3 zlib1g-dev libgmp-dev libreadline-dev libssl-devSwitch to the redmine user and install RVM:
sudo su - redmine
gpg --keyserver hkp://keyserver.ubuntu.com --recv-keys 409B6B1796C275462A1703113804BB82D39DC0E3 7D2BAF1CF37B13E2069D6956105BD0E739499BDB
curl -sSL https://get.rvm.io | bash -s stable
source /home/redmine/.rvm/scripts/rvm
rvm install 3.3.8 --disable-binary --autolibs=read-only- Configure Database Connection
cd /opt/redmine-6.0.6/config/
cp database.yml.example database.yml
vi database.ymlUpdate the production: section:
vi database.yml
production:
  adapter: postgresql
  database: redmine
  host: localhost
  username: redmine
  password: "my_password"
  encoding: utf8
  schema_search_path: public
- Install Gems and Set Up Redmine
Create a Gemfile.local to add Puma:
cd /opt/redmine-6.0.6
vi Gemfile.localAdd:
group :production do
  gem 'puma'
endInstall Gems:
gem install bundler
bundle config set --local without 'development test'
bundle installInitialize Redmine:
bundle exec rake generate_secret_token
RAILS_ENV=production bundle exec rake db:migrate
RAILS_ENV=production REDMINE_LANG=en bundle exec rake redmine:load_default_dataExit redmine user:
exit- Set Correct File Permissions
cd /opt/redmine-6.0.6
sudo mkdir -p tmp tmp/pdf public/assets
sudo chown -R redmine:redmine files log tmp public/assets
sudo chmod -R 755 files log tmp public/assets
sudo find files log tmp public/assets -type f -exec chmod -x {} +- Run Redmine as a Systemd Service
Create /etc/systemd/system/redmine.service:
[Unit]
Description=Redmine 6.0.6 with Puma and RVM
After=network.target

[Service]
Type=simple
User=redmine
WorkingDirectory=/opt/redmine-6.0.6

ExecStart=/bin/bash -lc 'bundle exec rails server -e production'

Restart=on-failure
TimeoutSec=15

[Install]
WantedBy=multi-user.targetEnable and start the service:
sudo systemctl daemon-reexec
sudo systemctl daemon-reload
sudo systemctl enable --now redmine- Issue HTTPS Certificate via Cloudflare DNS
Create Cloudflare credentials:
mkdir -p ~/.secrets/certbot
vi ~/.secrets/certbot/cloudflare.iniAdd:
dns_cloudflare_api_token = YOUR_CLOUDFLARE_API_TOKENSecure the file:
chmod 600 ~/.secrets/certbot/cloudflare.iniRequest certificate:
sudo certbot certonly \
  --dns-cloudflare \
  --dns-cloudflare-credentials ~/.secrets/certbot/cloudflare.ini \
-d redmine.maksonlee.com- Bundle Certificate for HAProxy
sudo mkdir -p /etc/haproxy/certs/
sudo bash -c "cat /etc/letsencrypt/live/redmine.maksonlee.com/fullchain.pem \
  /etc/letsencrypt/live/redmine.maksonlee.com/privkey.pem \
  > /etc/haproxy/certs/redmine.maksonlee.com.pem"
sudo chmod 600 /etc/haproxy/certs/redmine.maksonlee.com.pem- Configure HAProxy for SSL Termination
Edit /etc/haproxy/haproxy.cfg:
frontend https_in
    bind *:443 ssl crt /etc/haproxy/certs/ alpn h2,http/1.1
    mode http
    default_backend redmine

backend redmine
    mode http
    option http-buffer-request
    option http-keep-alive
    option forwardfor
    http-request set-header X-Forwarded-Proto https

server redmine1 127.0.0.1:3000Restart HAProxy:
sudo systemctl restart haproxy- Automate Certificate Renewal
Create deploy hook to reload HAProxy on renewal:
sudo tee /etc/letsencrypt/renewal-hooks/deploy/reload-haproxy.sh > /dev/null <<EOF
#!/bin/bash
cat /etc/letsencrypt/live/redmine.maksonlee.com/fullchain.pem \
    /etc/letsencrypt/live/redmine.maksonlee.com/privkey.pem \
    > /etc/haproxy/certs/redmine.maksonlee.com.pem
systemctl reload haproxy
EOF

sudo chmod +x /etc/letsencrypt/renewal-hooks/deploy/reload-haproxy.shFinal Result
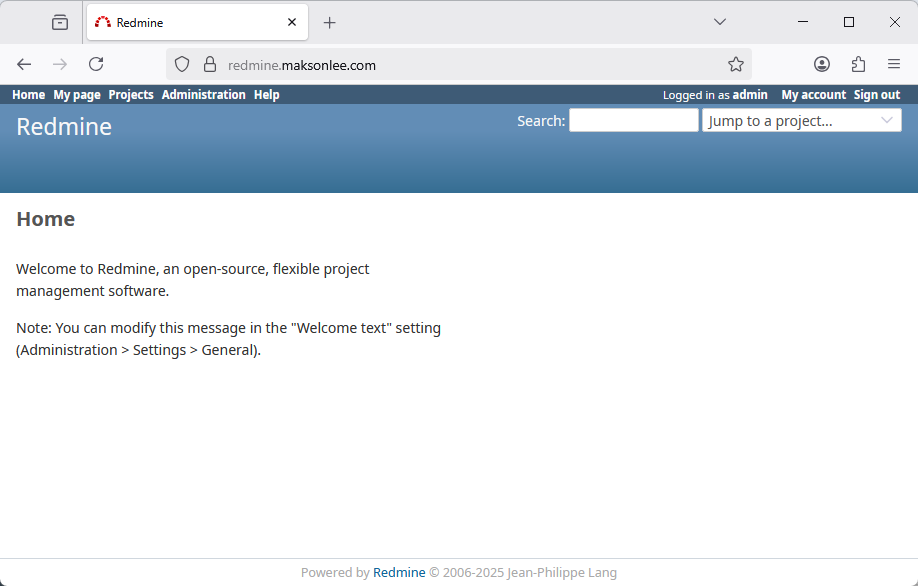
You can now access your Redmine instance securely at:
https://redmine.maksonlee.com
You’ll be greeted with the login screen. Default credentials are:
Login: admin
Password: admin
Change the password immediately after logging in!
Did this guide save you time?
Support this site