In my previous post, I set up a single-node Proxmox VE 9 lab.
Now it’s time to give that lab a proper backup target: Proxmox Backup Server 4.0 (PBS).
In this post we will:
- Install Proxmox Backup Server 4.0 from the official ISO
- Log in to the PBS web interface and apply updates
- Use only the GUI to turn a second disk into a datastore (no shell commands)
- Add PBS as Proxmox Backup Server storage in Proxmox VE using the fingerprint button
- Create a scheduled backup job and run it once manually
- Restore a VM from that backup to a new VM ID
This works whether PBS runs on bare metal or as a VM.
Lab Overview
For this guide I use:
- Proxmox Backup Server node
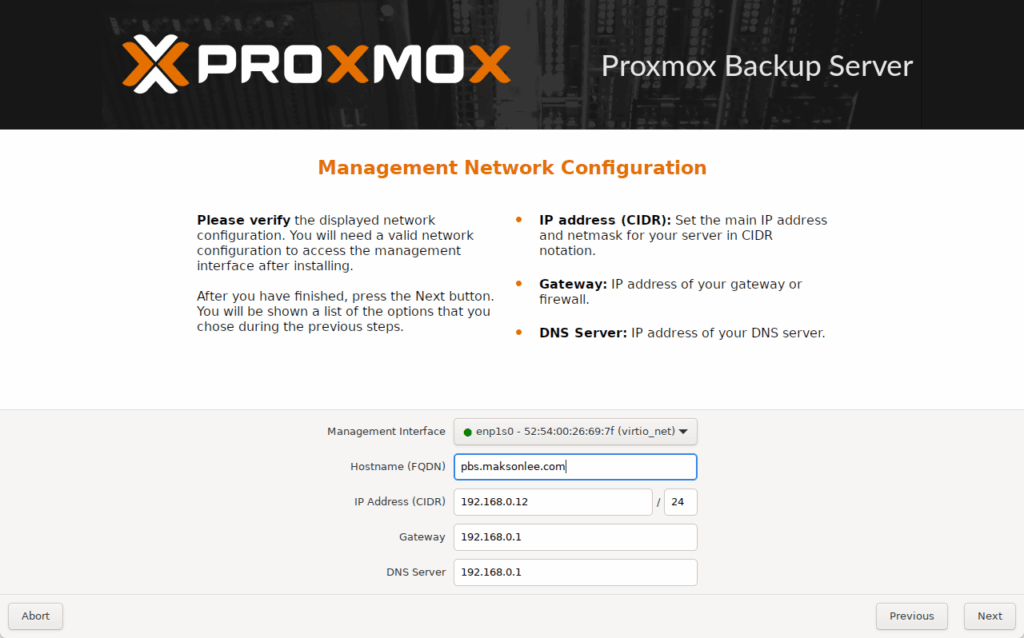
- Hostname:
pbs.maksonlee.com - IP:
192.168.0.12/24 - System disk: 64 GB
- Backup disk: 64 GB (second disk, unused at the start)
- ISO:
proxmox-backup-server_4.0-1.iso - Datastore ID we’ll create:
pbs-datastore1
- Hostname:
- Proxmox VE node
- Proxmox VE 9 single node
- Will see PBS as storage
pbs-backup - Test VM: VM 100 –
ceph-test
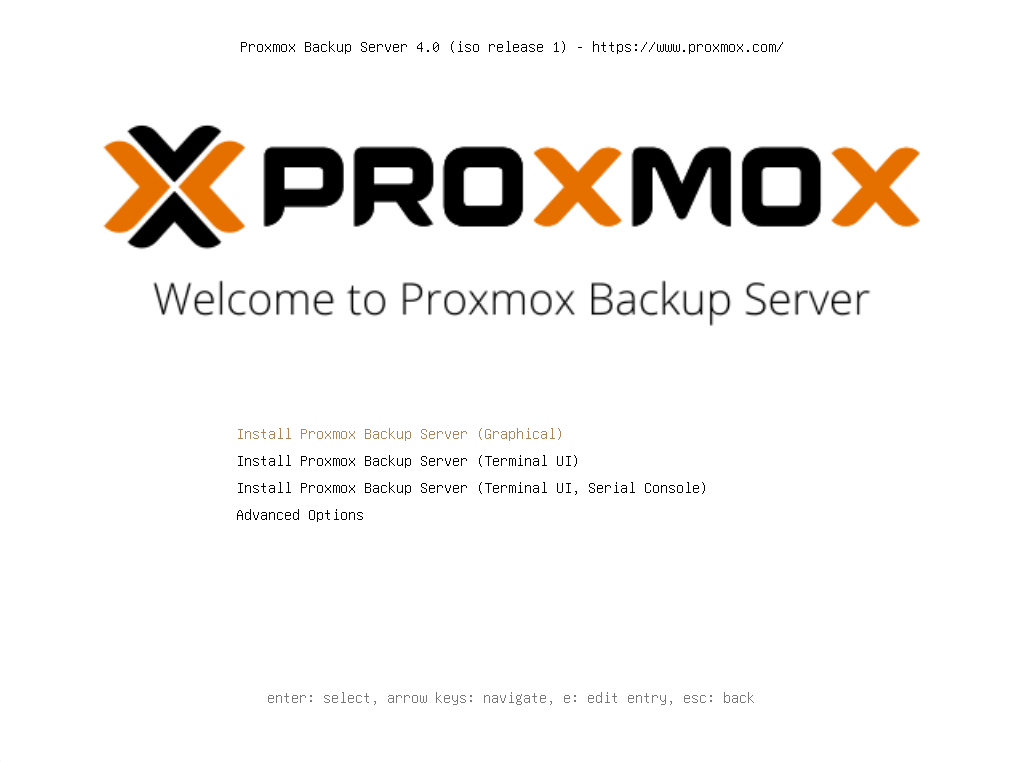
- Install Proxmox Backup Server 4.0 from ISO
- Download
proxmox-backup-server_4.0-1.isofrom the Proxmox website. - Boot your server from this ISO:
- At the boot menu, select:
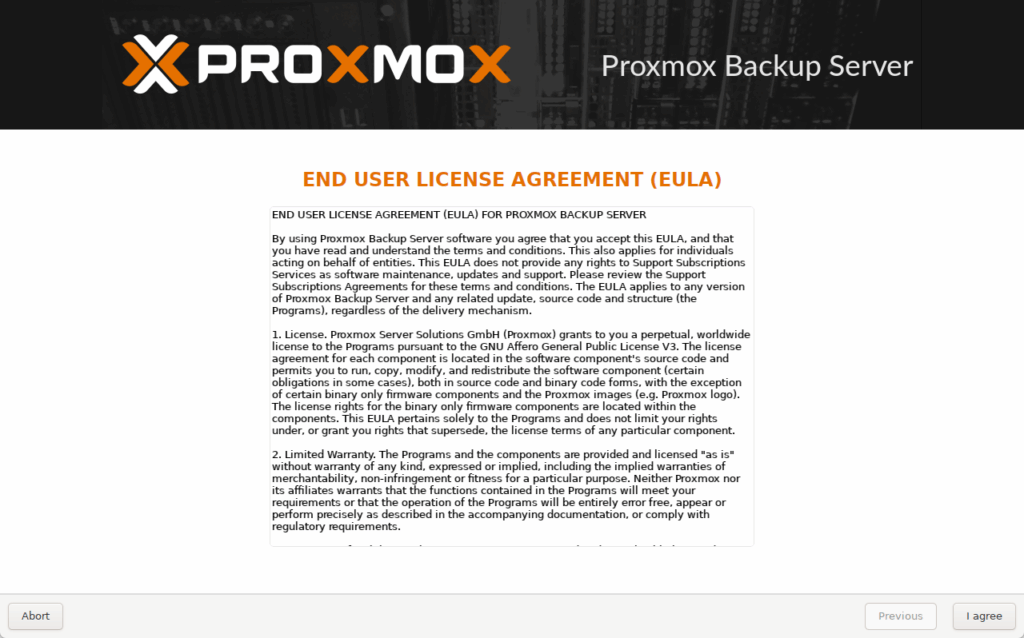
- License agreement
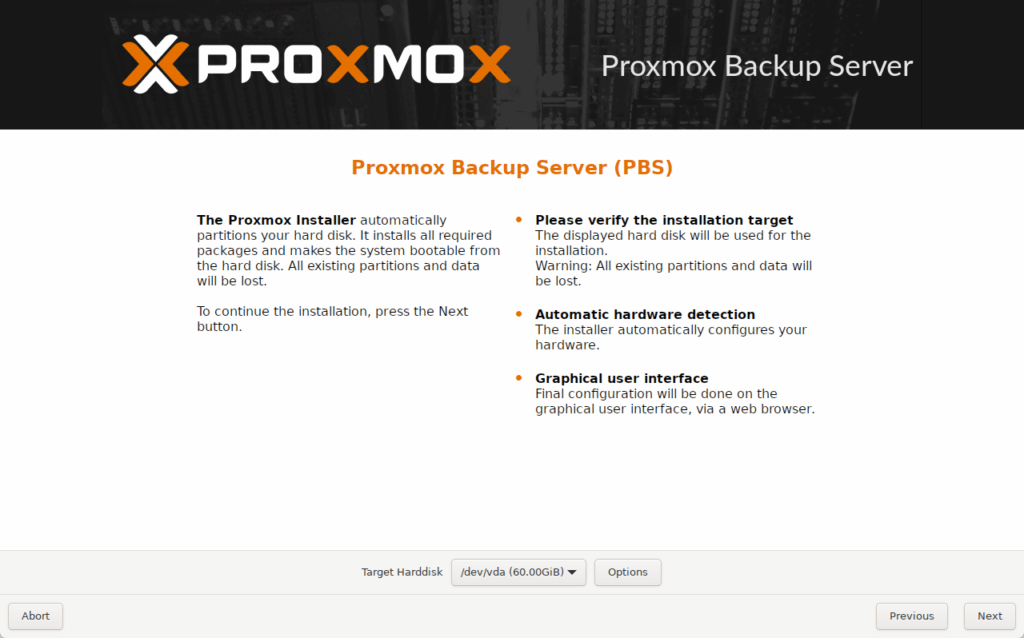
- Target harddisk
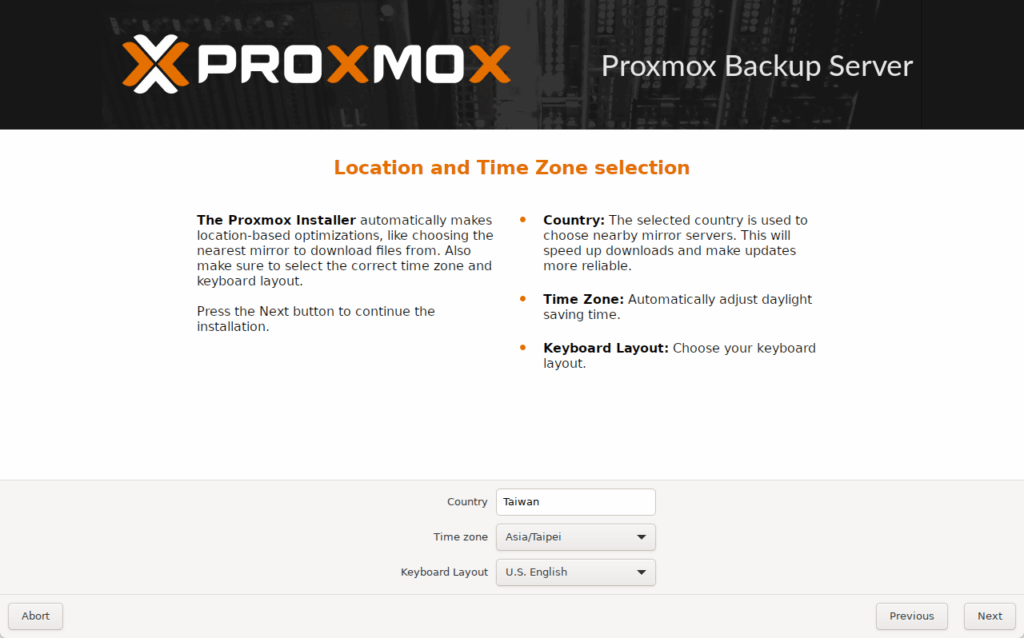
- Location and time zone
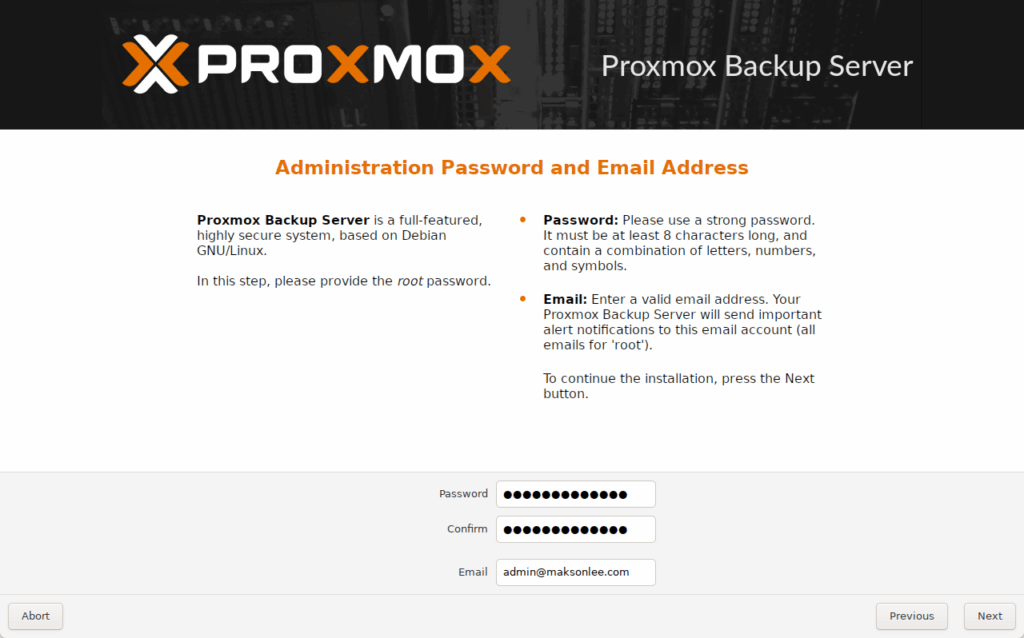
- Root password and email
- Network settings
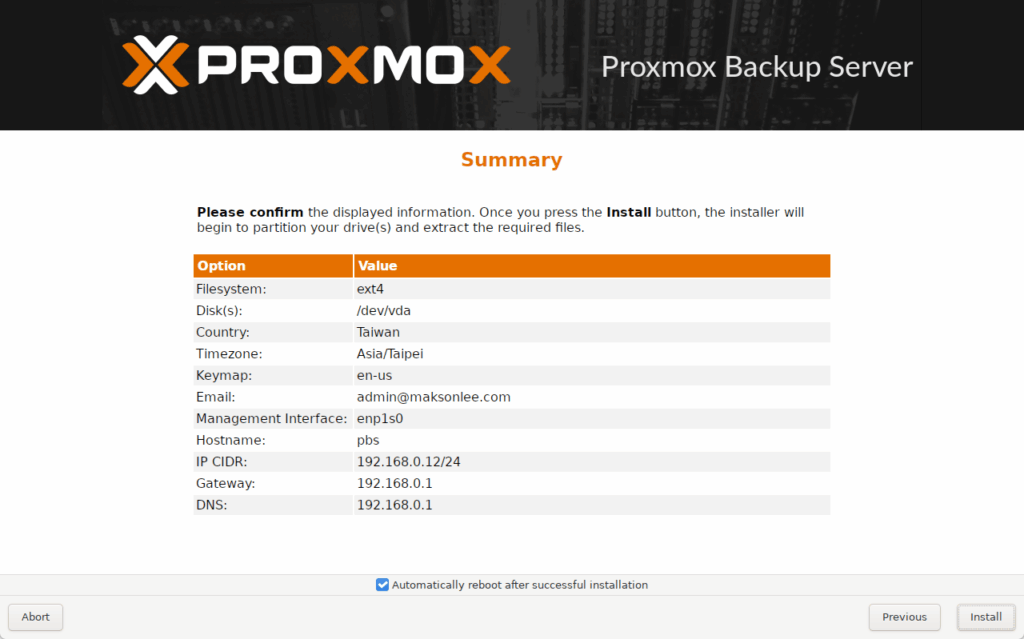
- Summary
- First Boot and Web Login
After PBS boots, the console shows something like:
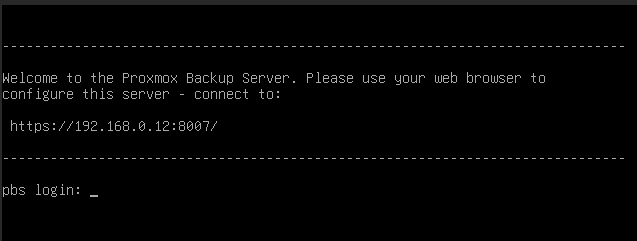
On your workstation:
https://192.168.0.12:8007/
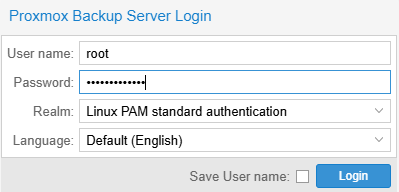
Accept the browser’s warning about the self-signed certificate and login with
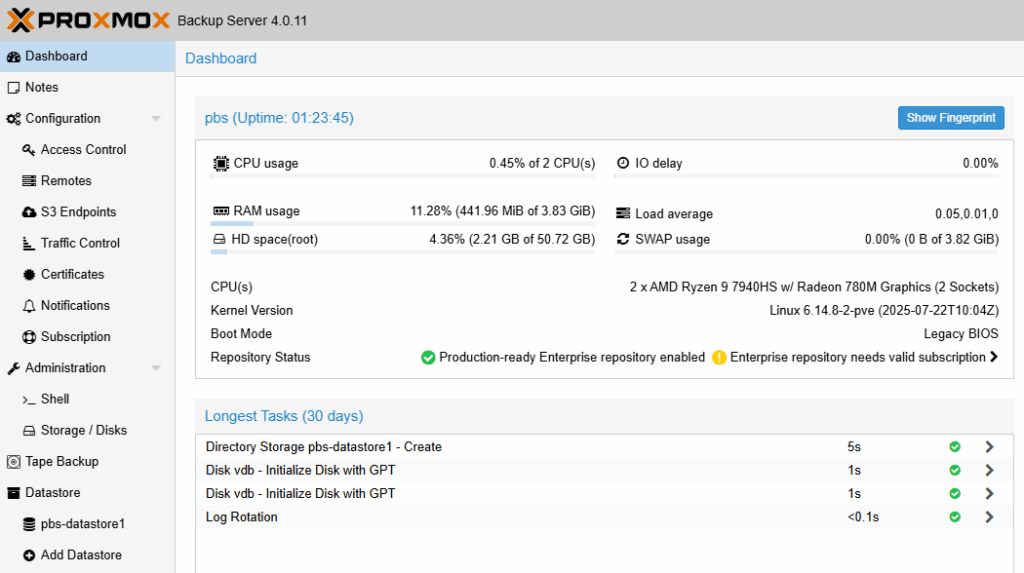
You should now see the PBS dashboard.
- Turn the Second Disk into a Datastore
Now we configure the second disk as a datastore for backups. No shell, no fstab, all via the web UI.
- Check the disks
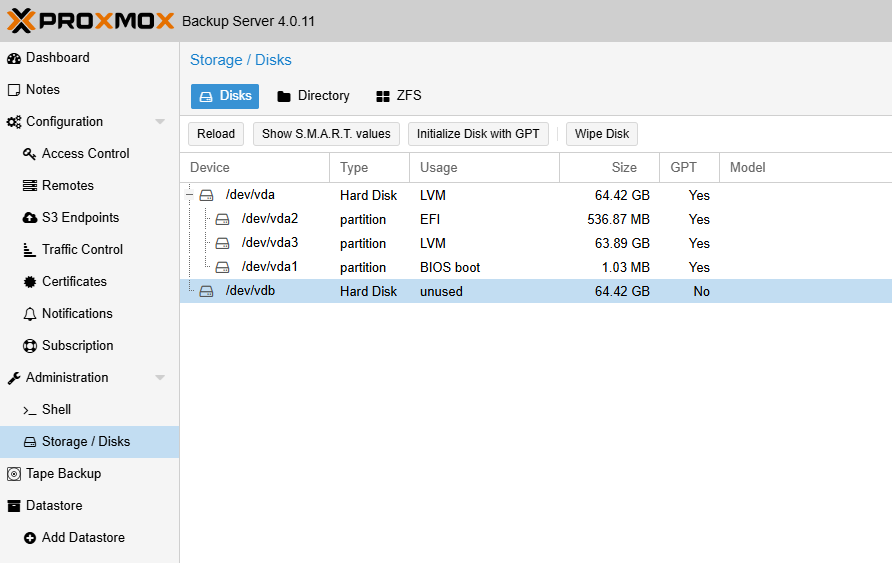
- Initialize
/dev/vdbwith GPT- Select
/dev/vdb - Click Initialize Disk with GPT
- Select
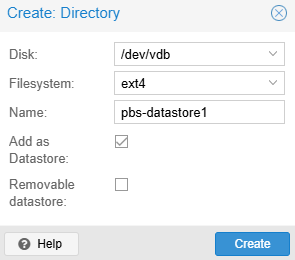
- Create a filesystem and datastore
Still under Storage → Disks, switch to the Directory tab, then Click Create → Directory - Click Create

- Add PBS as Storage in Proxmox VE
Next we add PBS to Proxmox VE as Proxmox Backup Server storage.
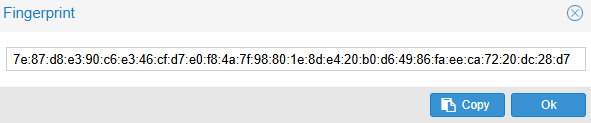
- Copy the PBS certificate fingerprint
On PBS:- Go to Dashboard
- Click the blue Show Fingerprint button on the top-right
- A dialog pops up with the SHA-256 fingerprint
- Click Copy and keep this value in your clipboard
- Fill out “Add: Proxmox Backup Server” in PVE
On the Proxmox VE 9 web UI:- Go to Datacenter → Storage → Add → Proxmox Backup Server
- Click Add

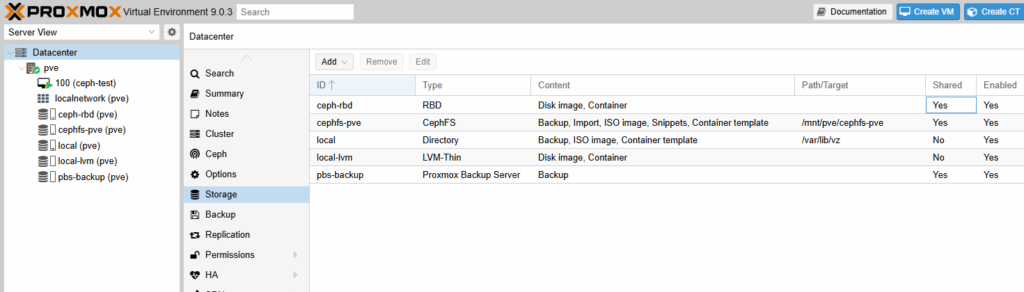
If there’s no error, PVE now has a storage called pbs-backup, you can use it as backup storage for your VMs.
Did this guide save you time?
Support this site