In this post, we’ll set up Kafbat UI, a modern web-based Kafka management interface, to work with a secure Kafka 4.0 broker that uses:
- SASL/PLAIN authentication (Kafka EXTERNAL listener)
- TLS termination in HAProxy for Kafka (port 9093)
- HTTPS-only access to the UI (port 443 via HAProxy)
- Docker-based deployment for Kafbat UI
- systemd integration so the UI survives reboots
This post builds on:
Architecture Overview
Final layout:
| Component | Address / Host | Protocol | Role |
|---|---|---|---|
| Kafka EXTERNAL | 127.0.0.1:9093 | SASL_PLAINTEXT | Broker listener (behind HAProxy) |
| Kafka CONTROLLER | 127.0.0.1:9094 | PLAINTEXT | KRaft controller listener |
| HAProxy Kafka | 192.168.0.73:9093 | TLS | TLS termination, forwards to 127.0.0.1:9093 |
| Kafbat UI | 127.0.0.1:8080 (Docker) | HTTP (internal) | Kafka web management UI |
| HAProxy UI | 192.168.0.73:443 | HTTPS | TLS termination (Kafbat UI) |
| Browser | https://kafka.maksonlee.com | HTTPS | Access point for the UI |
Prerequisites
Make sure:
- Your Kafka 4.0 is already running with SASL/PLAIN and HAProxy SSL
- DNS for
kafka.maksonlee.comresolves to your server - Your SSL cert (
kafka.maksonlee.com.pem) is already placed in/etc/haproxy/certs/
- Create the Docker Compose for Kafbat UI
Create /opt/kafbat-ui/docker-compose.yml:
version: '3'

services:
  kafbat-ui:
    image: ghcr.io/kafbat/kafka-ui:latest
    network_mode: "host"
    container_name: kafbat-ui
    environment:
      KAFKA_CLUSTERS_0_NAME: Kafka 4.0
      KAFKA_CLUSTERS_0_BOOTSTRAPSERVERS: kafka.maksonlee.com:9093
      KAFKA_CLUSTERS_0_PROPERTIES_SECURITY_PROTOCOL: SASL_SSL
      KAFKA_CLUSTERS_0_PROPERTIES_SASL_MECHANISM: PLAIN
      KAFKA_CLUSTERS_0_PROPERTIES_SASL_JAAS_CONFIG: >
        org.apache.kafka.common.security.plain.PlainLoginModule required
        username="admin" password="admin-secret";
DYNAMIC_CONFIG_ENABLED: "false"- Create a systemd Service
To auto-start Kafbat UI:
[Unit]
Description=Kafbat UI
Requires=docker.service
After=docker.service
StartLimitIntervalSec=300
StartLimitBurst=5

[Service]
Type=exec
WorkingDirectory=/opt/kafbat-ui
ExecStart=/usr/bin/docker compose up
ExecStop=/usr/bin/docker compose down
TimeoutStopSec=30
Restart=on-failure
RestartSec=10

[Install]
WantedBy=multi-user.targetEnable and start the service:
sudo systemctl daemon-reexec
sudo systemctl daemon-reload
sudo systemctl enable kafbat-ui
sudo systemctl start kafbat-ui- Configure HAProxy (Port 443 for UI)
Append this to /etc/haproxy/haproxy.cfg:
userlist kafbat_users
        user admin insecure-password mysecretpassword

frontend kafbat_ui_https
        bind 192.168.0.73:443 ssl crt /etc/haproxy/certs/kafka.maksonlee.com.pem
        mode http
        acl is_auth_ok http_auth(kafbat_users)
        http-request auth realm KafbatUI if !is_auth_ok
        use_backend kafbat_ui_backend

backend kafbat_ui_backend
        mode http
server kafbat_ui1 127.0.0.1:8080 checkReload HAProxy:
sudo systemctl reload haproxy- Access the UI
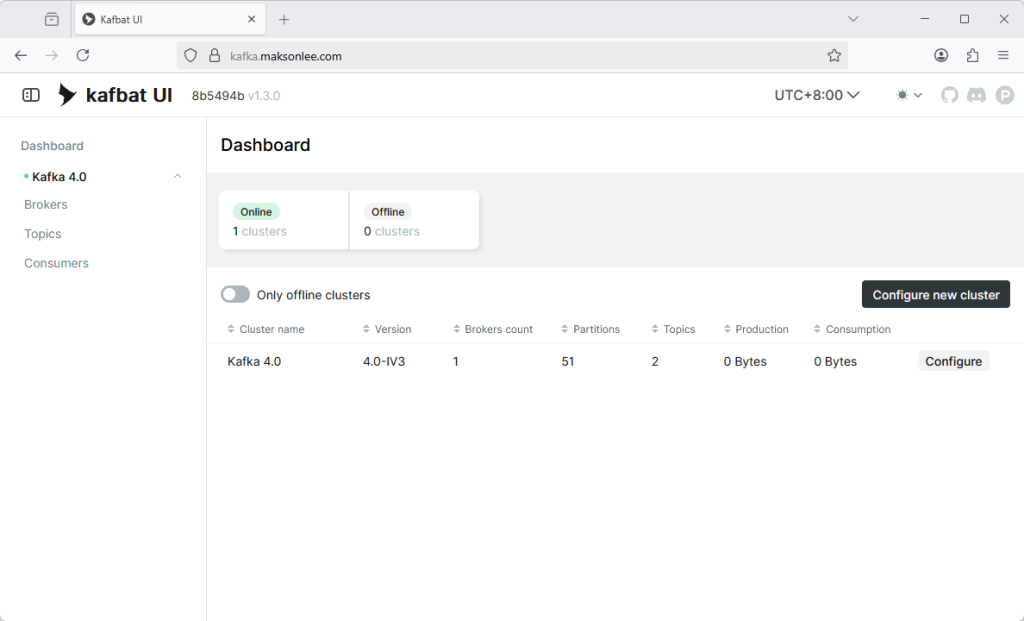
Open your browser and go to:
https://kafka.maksonlee.com
You should see the Kafbat UI dashboard with your Kafka 4.0 cluster connected via SASL/PLAIN.
Conclusion
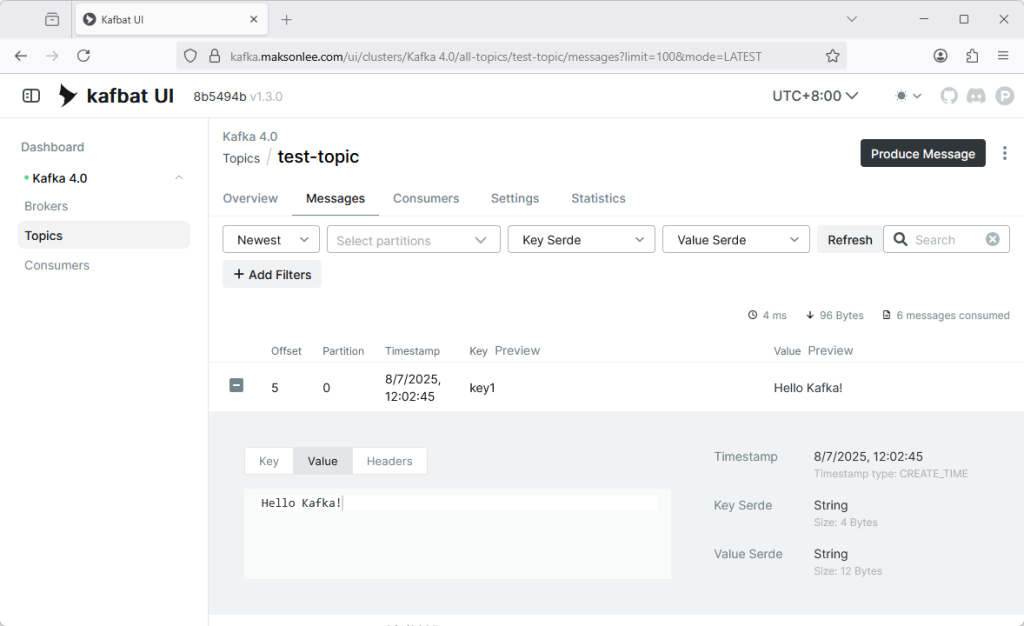
With this setup, you now have a secure, restart-persistent, and authenticated Kafbat UI dashboard, perfect for monitoring Kafka topics, partitions, consumers, and more.
Did this guide save you time?
Support this site