This guide installs Vault OSS on an EC2 Ubuntu 24.04 instance, enables AWS KMS auto-unseal, and exposes the Vault UI over HTTPS using NGINX + Certbot. We’ll keep Vault bound to localhost and put NGINX in front.
What You’ll Set Up
- Ubuntu 24.04 EC2 instance (with a static DNS name, e.g.
vault.maksonlee.com) - Vault OSS via apt
- Vault auto-unseal with AWS KMS
- HTTPS via NGINX + Certbot
- Recovery via Shamir keys (Vault OSS default)
- Install Vault
wget -O - https://apt.releases.hashicorp.com/gpg | sudo gpg --dearmor -o /usr/share/keyrings/hashicorp-archive-keyring.gpg

echo "deb [arch=$(dpkg --print-architecture) signed-by=/usr/share/keyrings/hashicorp-archive-keyring.gpg] https://apt.releases.hashicorp.com $(grep -oP '(?<=UBUNTU_CODENAME=).*' /etc/os-release || lsb_release -cs) main" | sudo tee /etc/apt/sources.list.d/hashicorp.list

sudo apt update && sudo apt install vault- Install NGINX and Certbot
sudo apt install nginx certbot python3-certbot-nginx -y- Configure Vault
Edit /etc/vault.d/vault.hcl, make sure you have following
# HTTP listener
listener "tcp" {
  address = "127.0.0.1:8200"
  tls_disable = 1
}Enable and start:
sudo systemctl daemon-reload
sudo systemctl enable vault
sudo systemctl restart vault
sudo systemctl status vault --no-pager- Set Up NGINX as Reverse Proxy
Create the site config:
sudo tee /etc/nginx/sites-available/vault <<EOF
server {
    listen 80;
    server_name vault.maksonlee.com;

    location / {
        proxy_pass http://127.0.0.1:8200;
        proxy_set_header Host \$host;
        proxy_set_header X-Real-IP \$remote_addr;
        proxy_set_header X-Forwarded-For \$proxy_add_x_forwarded_for;
        proxy_set_header X-Forwarded-Proto \$scheme;
    }
}
EOF

sudo ln -s /etc/nginx/sites-available/vault /etc/nginx/sites-enabled/
sudo nginx -t && sudo systemctl reload nginxIssue the certificate and let Certbot add the HTTPS server block:
sudo certbot --nginx -d vault.maksonlee.com- Create AWS KMS Key and IAM Role (in CloudShell)
Create a symmetric KMS key and alias:
aws kms create-key \
  --description "Vault auto-unseal key" \
  --key-usage ENCRYPT_DECRYPT \
  --key-spec SYMMETRIC_DEFAULT \
  --tags TagKey=Project,TagValue=Vault
aws kms create-alias \
--alias-name alias/vault-unseal \
--target-key-id <your-key-id>Create IAM role & policy for EC2 instances running Vault:
aws iam create-role --role-name VaultInstanceRole \
  --assume-role-policy-document '{
    "Version": "2012-10-17",
    "Statement": [{
      "Effect": "Allow",
      "Principal": {"Service": "ec2.amazonaws.com"},
      "Action": "sts:AssumeRole"
    }]
  }'

aws iam create-policy --policy-name VaultKMSUnsealAccess \
  --policy-document '{
    "Version": "2012-10-17",
    "Statement": [{
      "Effect": "Allow",
      "Action": [
        "kms:Encrypt",
        "kms:Decrypt",
        "kms:GenerateDataKey",
        "kms:DescribeKey"
      ],
      "Resource": "*"
    }]
  }'

aws iam attach-role-policy \
  --role-name VaultInstanceRole \
--policy-arn arn:aws:iam::$(aws sts get-caller-identity --query Account --output text):policy/VaultKMSUnsealAccessAttach the role to your EC2 instance:
aws iam create-instance-profile \
  --instance-profile-name VaultInstanceProfile

aws iam add-role-to-instance-profile \
  --instance-profile-name VaultInstanceProfile \
  --role-name VaultInstanceRole

aws ec2 associate-iam-instance-profile \
  --instance-id <your-instance-id> \
--iam-instance-profile Name=VaultInstanceProfile- Enable KMS Auto-Unseal in Vault
Edit /etc/vault.d/vault.hcl, make sure you have following
seal "awskms" {
  region = "ap-south-1"
  kms_key_id = "alias/vault-unseal"
}Restart Vault:
sudo systemctl restart vault- Initialize Vault (one-time)
VAULT_ADDR=http://127.0.0.1:8200 vault operator initYou’ll get:
- Initial Root Token (printed once)
- Recovery Keys (Shamir shares; default 5 shares, threshold 3)
Store these securely (password manager + offline copies). Anyone with enough recovery keys can perform sensitive recovery operations.
Check status:
VAULT_ADDR=http://127.0.0.1:8200 vault statusExpected:
Seal Type: awskms
Recovery Seal Type: shamir
Sealed: false- Use the Vault CLI (local loopback only)
- Point the CLI to Vault (local)
export VAULT_ADDR=http://127.0.0.1:8200
vault status(Optional) Make it persistent for this user:
echo 'export VAULT_ADDR=http://127.0.0.1:8200' >> ~/.bashrc- Provide a token to the CLI
The CLI searches tokens in this order: -token flag → VAULT_TOKEN env → ~/.vault-token.
Temporary (right after init):
export VAULT_TOKEN="s.ROOT_TOKEN_HERE"
vault token lookupBest practice — create a non-root admin token and store it for CLI use.
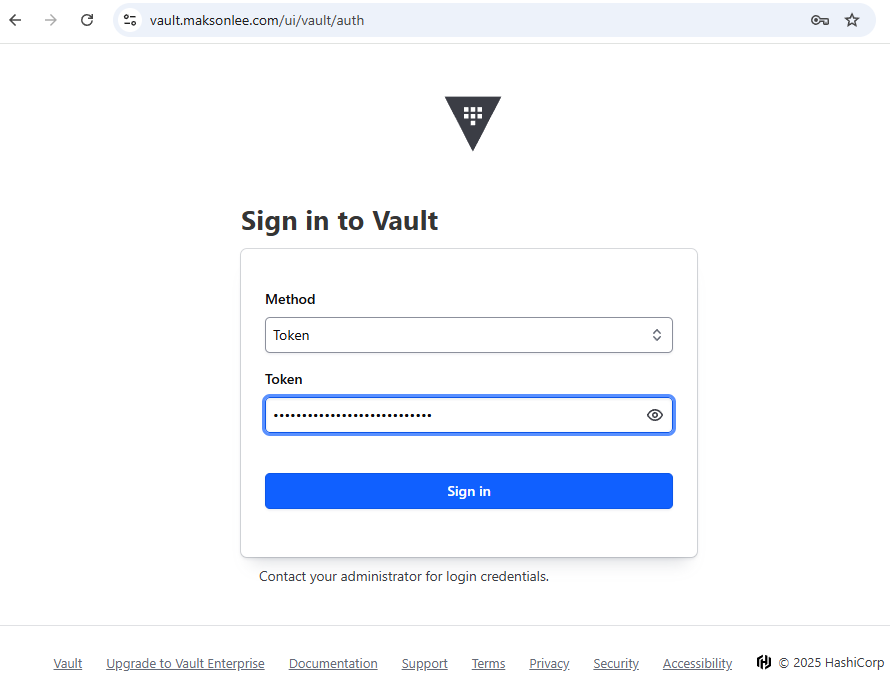
- Log In to Vault Web UI
- Open
https://vault.maksonlee.com - Choose
Tokenas the authentication method - Paste your Initial Root Token from Step 7
- Sign In
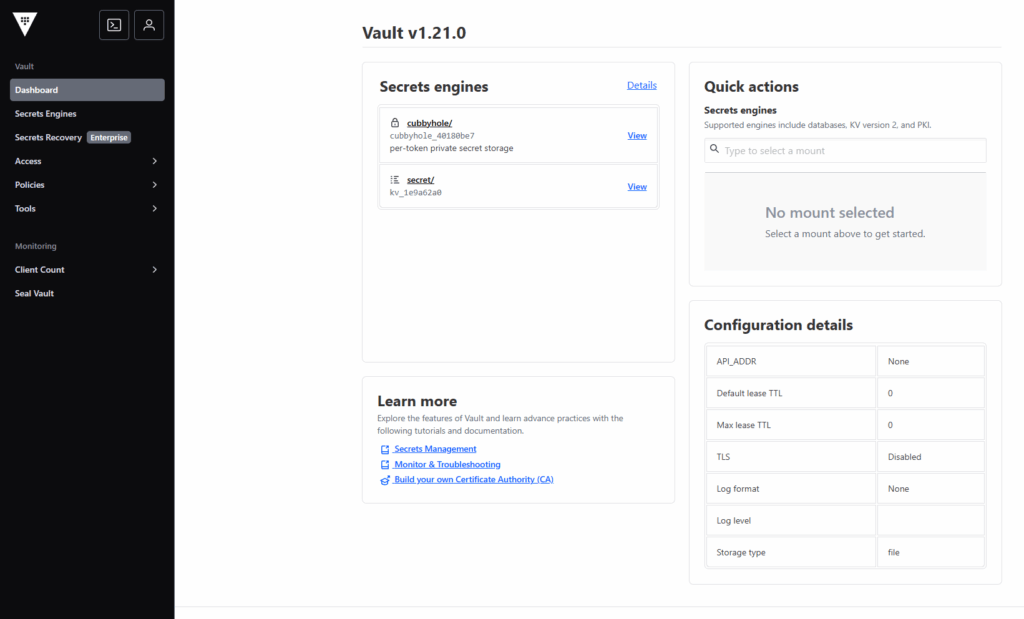
Done!
Vault is installed and:
- Automatically unseals using AWS KMS
- Is accessible via HTTPS
- Uses default OSS Shamir recovery mode
Did this guide save you time?
Support this site