Sometimes you want to learn Proxmox, but you don’t want to dedicate a physical machine yet.
The solution: run Proxmox VE 9 inside a KVM virtual machine.
You get:
- A single-node Proxmox lab
- Running on top of KVM on your Linux host
- Full ability to create VMs/containers inside Proxmox (nested virtualization)
- Easy to break, reinstall, snapshot, and throw away
This post shows how I installed:
- Host: Ubuntu 24.04 with KVM/libvirt
- Proxmox ISO:
proxmox-ve_9.0-1.iso - Host bridge IP:
192.168.0.84(onbr0) - Proxmox VM IP:
192.168.0.11 - CPU: AMD, nested KVM enabled
This setup is for testing and learning. It’s not meant for production workloads.
- Lab Overview
On the KVM host:
- Physical NIC:
enp1s0 - Linux bridge:
br0 - Host IP:
192.168.0.84/24(via DHCP onbr0) - Default libvirt NAT network:
virbr0(not used for this lab)
ip a on the host:
ip a
1: lo: <LOOPBACK,UP,LOWER_UP> mtu 65536 qdisc noqueue state UNKNOWN group default qlen 1000
    link/loopback 00:00:00:00:00:00 brd 00:00:00:00:00:00
    inet 127.0.0.1/8 scope host lo
       valid_lft forever preferred_lft forever

2: enp1s0: <BROADCAST,MULTICAST,UP,LOWER_UP> mtu 1500 qdisc fq_codel master br0 state UP group default qlen 1000
    link/ether 58:47:ca:7f:be:6a brd ff:ff:ff:ff:ff:ff

4: br0: <BROADCAST,MULTICAST,UP,LOWER_UP> mtu 1500 qdisc noqueue state UP group default qlen 1000
    link/ether c6:e1:57:de:96:85 brd ff:ff:ff:ff:ff:ff
    inet 192.168.0.84/24 metric 100 brd 192.168.0.255 scope global dynamic br0
       valid_lft 46104sec preferred_lft forever

5: virbr0: <NO-CARRIER,BROADCAST,MULTICAST,UP> mtu 1500 qdisc noqueue state DOWN group default qlen 1000
    link/ether 52:54:00:07:f8:e2 brd ff:ff:ff:ff:ff:ff
    inet 192.168.122.1/24 brd 192.168.122.255 scope global virbr0
valid_lft forever preferred_lft foreverNetplan config for br0:
# /etc/netplan/50-cloud-init.yaml
network:
  version: 2
  ethernets:
    enp1s0:
      dhcp4: false
      dhcp6: false
      optional: true
  bridges:
    br0:
      interfaces: [enp1s0]
      dhcp4: true
      dhcp6: false
      macaddress: c6:e1:57:de:96:85
      parameters:
        stp: false
forward-delay: 0So:
- The host gets
192.168.0.84onbr0. - The Proxmox VM will get its own LAN IP (
192.168.0.11in this example).
- Check / Enable Nested Virtualization on the Host
Because Proxmox itself will run VMs, nested virtualization must be enabled on the KVM host.
- Which KVM module is used?
lsmod | grep kvm
ls /sys/module | grep kvmOn this host (AMD), kvm_amd is used, and:
cat /sys/module/kvm_amd/parameters/nested
1The 1 means nested virtualization is already enabled.
- Generic instructions
If you’re on AMD and nested is 0:
echo "options kvm_amd nested=1" | sudo tee /etc/modprobe.d/kvm-amd.conf
sudo rebootAfter reboot:
cat /sys/module/kvm_amd/parameters/nested
# should print 1If you’re on Intel:
echo "options kvm_intel nested=1" | sudo tee /etc/modprobe.d/kvm-intel.conf
sudo rebootAfter reboot:
cat /sys/module/kvm_intel/parameters/nested
# should print Y- Download the Proxmox VE 9 ISO
Download the Proxmox VE 9 ISO on the host and put it somewhere like ~/iso:
mkdir -p ~/iso
# (Download proxmox-ve_9.0-1.iso via browser or wget)
ls ~/iso
proxmox-ve_9.0-1.isoIn this example, the ISO is placed at:
/var/lib/libvirt/images/proxmox-ve_9.0-1.iso
- Create the Proxmox VM in KVM (Cockpit)
These steps use Cockpit → Virtual Machines on Ubuntu 24.04.
- “Create new virtual machine” (Details tab)
In Cockpit:- Go to Virtual Machines.
- Click Create → Virtual Machine.
- Fill in the Details tab:
- Name:
proxmox - Connection:
System - Installation type:
Local install media (ISO image or distro install tree) - Installation source:
/var/lib/libvirt/images/proxmox-ve_9.0-1.iso - Operating system:
Debian 13 (trixie) - Storage:
Create new qcow2 volume - Storage limit:
60 GiB - Memory:
16 GiB
Click Create and edit.
- Adjust hardware before boot
After “Create and edit”, open the VM settings and:- Change vCPUs from
1to4.
- Change vCPUs from
Everything else can stay at the Cockpit defaults for this simple lab.
Then start the VM. It will boot from the Proxmox ISO into the installer.
- Install Proxmox VE 9 Inside the VM
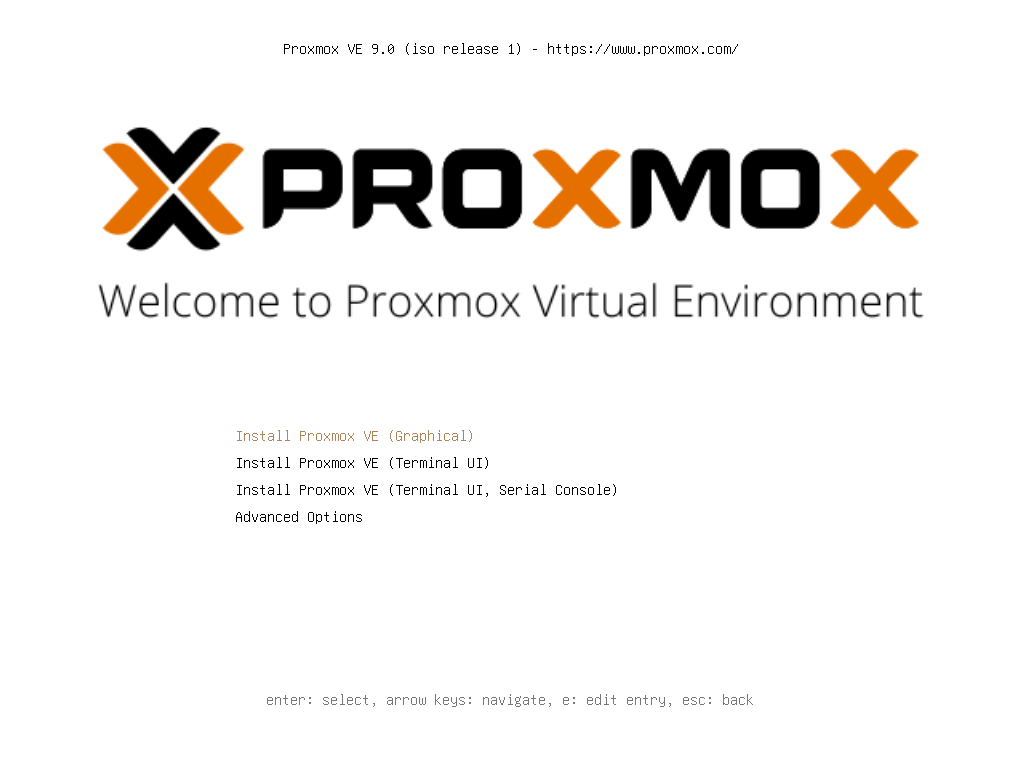
- Boot the Proxmox installer
- Accept the EULA

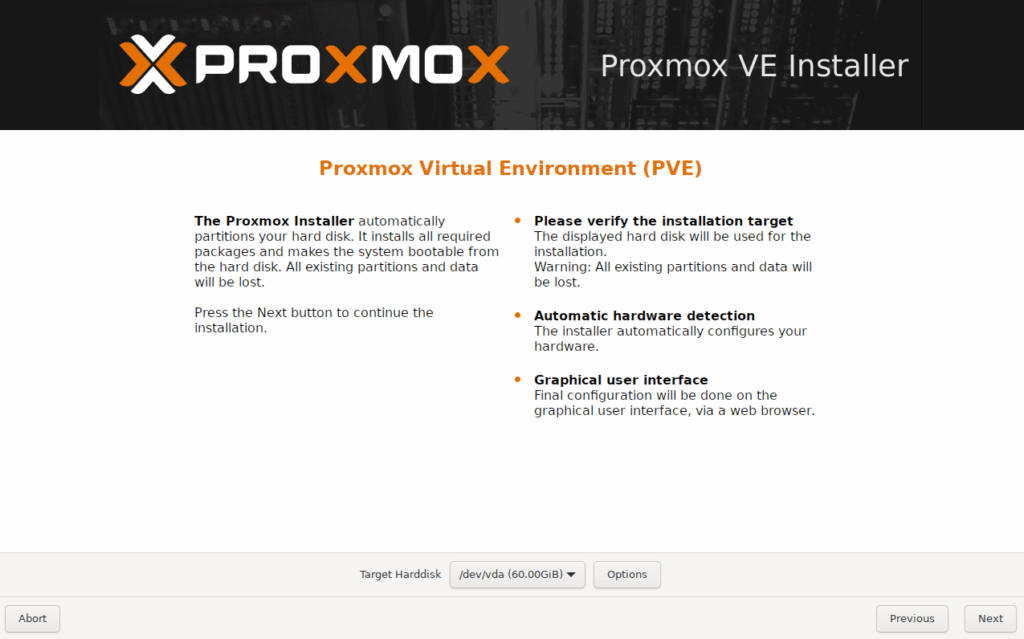
- Target disk and filesystem
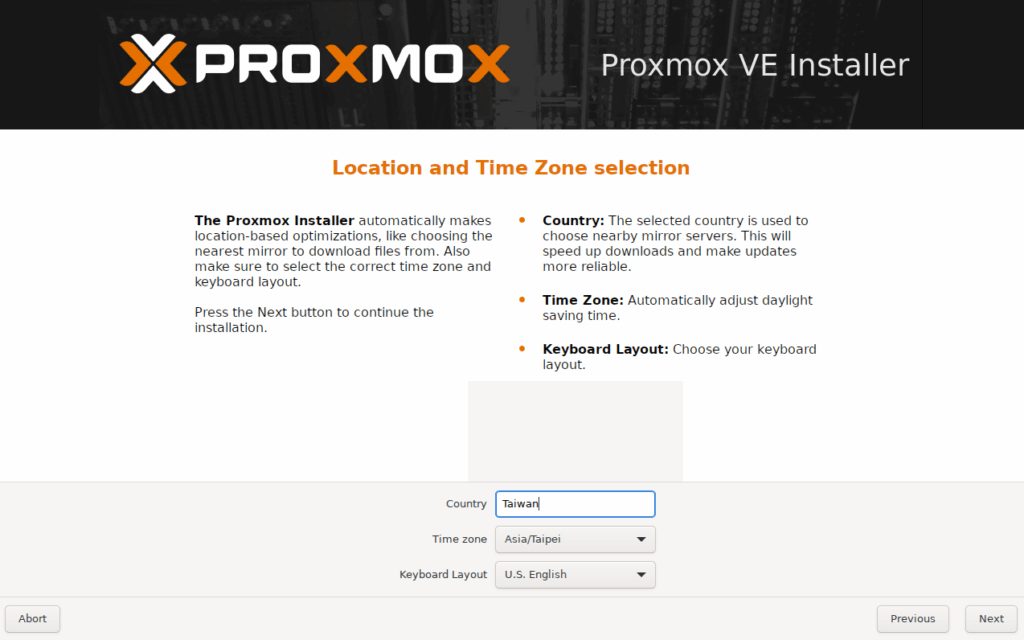
- Location, time zone, keyboard
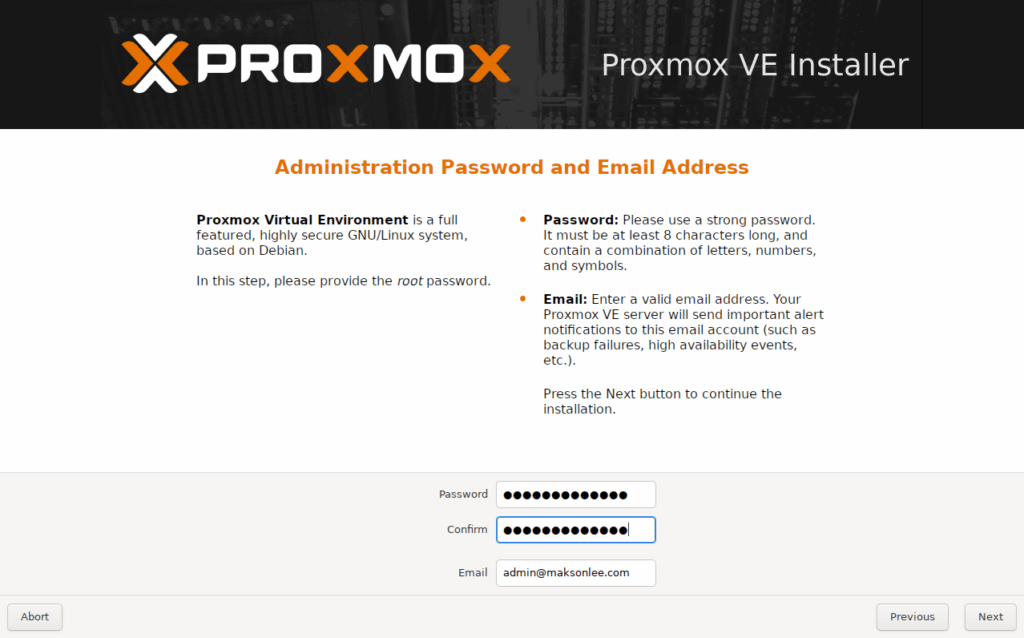
- Root password and email
- Management network configuration
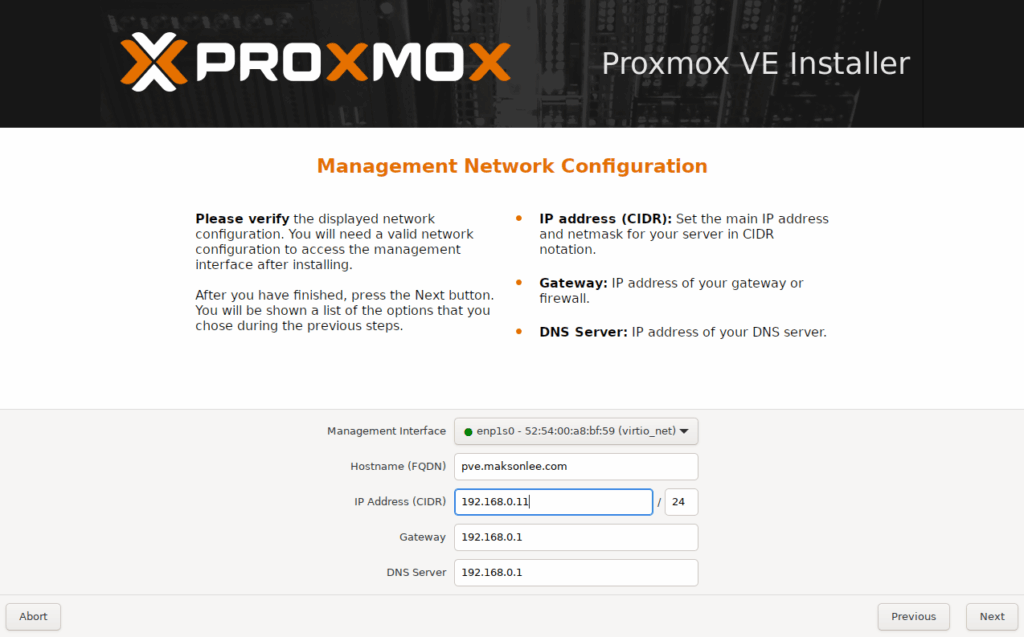
- Summary and installation

If everything looks good:
- Leave Automatically reboot after successful installation checked.
- Click Install.
Proxmox will install and then reboot the VM.
- First Boot and Web UI Login
After reboot, the VM console prints something like:
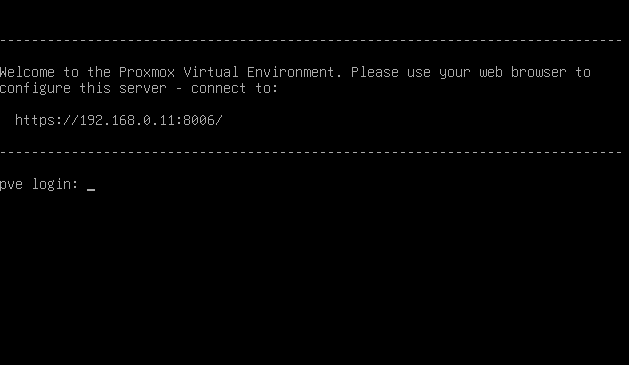
From a browser on your LAN:
- Open
https://192.168.0.11:8006/. - Accept the self-signed certificate warning.
- Log in:
- User name:
root - Password: the one set during install
- Realm:
Linux PAM standard authentication
- User name:
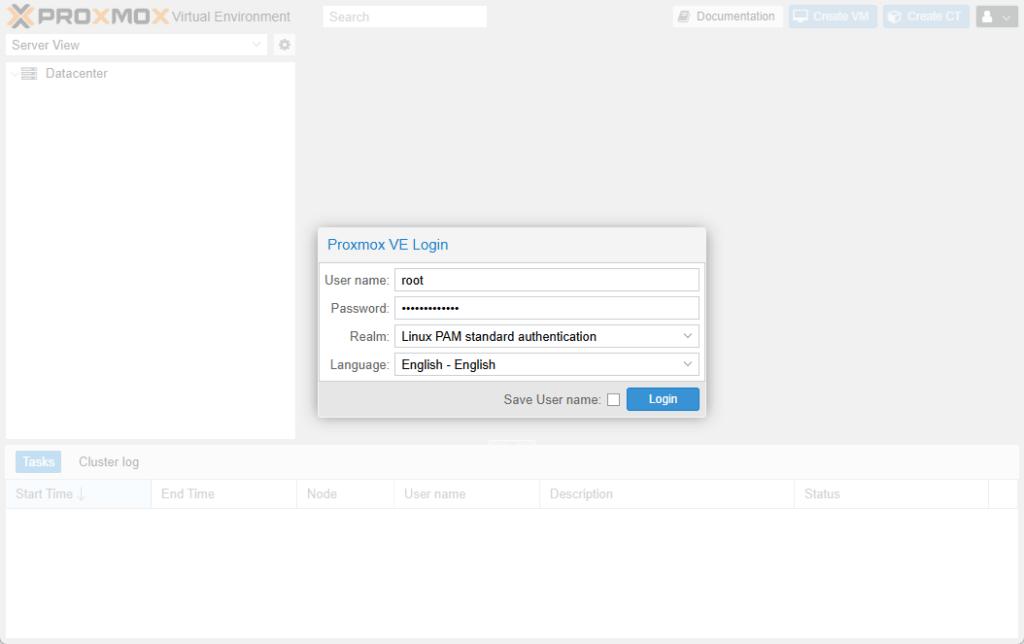
You should now see the Proxmox web interface: Datacenter on the left with your node (e.g. pve) under it.

Did this guide save you time?
Support this site