This is a follow-up to my Teleport installation guide:
That post builds a single-node Teleport cluster (Auth + Proxy + SSH service) exposed internally at https://teleport.maksonlee.com with TLS on :443.
In this post, we enroll a new Ubuntu 24.04 server as an SSH node, using Teleport’s Web UI guided enrollment.
Lab Context
- Teleport Web UI / Proxy:
https://teleport.maksonlee.com - Teleport is internal-only (LAN/VPN)
- Target server (example):
- Hostname:
jenkins(shown in UI after enrollment) - OS: Ubuntu 24.04
- Hostname:
- Requirement: the target server must be able to reach:
teleport.maksonlee.com:443(outbound)
What You’ll Do
- Use Enroll New Resource → Ubuntu 18.04+ (SSH) (works for Ubuntu 24.04)
- Run the generated install command on the target server
- Let the Web UI detect the new node automatically
- Pick OS users for SSH sessions
- Run the built-in connection test and open an in-browser SSH session
- Open “Enroll New Resource”
- Sign in to Teleport Web UI:
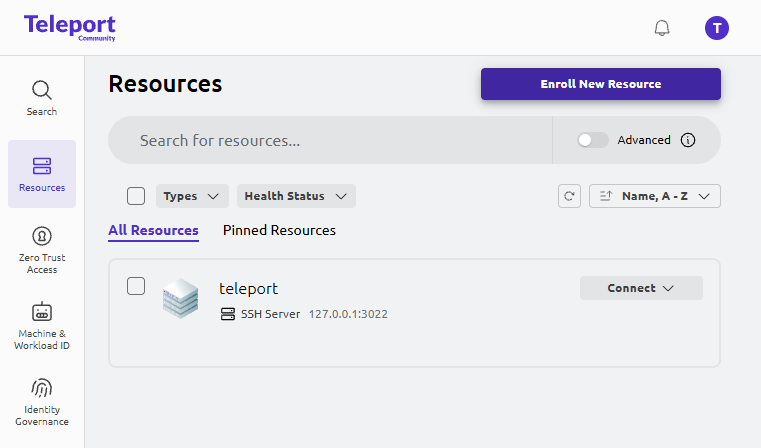
https://teleport.maksonlee.com - Go to Resources.
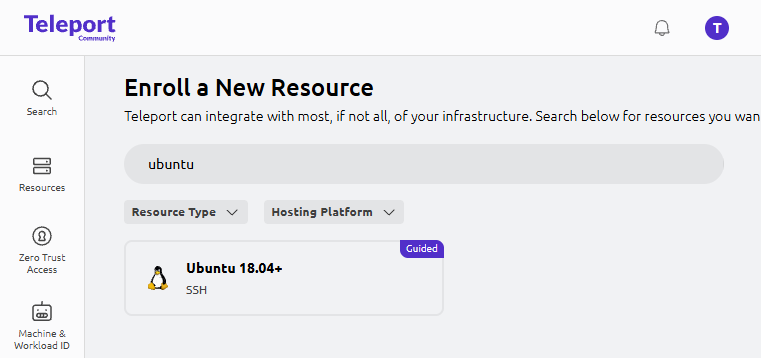
- Click Enroll New Resource.
- Search for ubuntu and select:
Ubuntu 18.04+ (SSH)
Teleport’s wizard labels it “Ubuntu 18.04+”, but it works fine for Ubuntu 24.04.
- Configure Resource (Skip Labels)
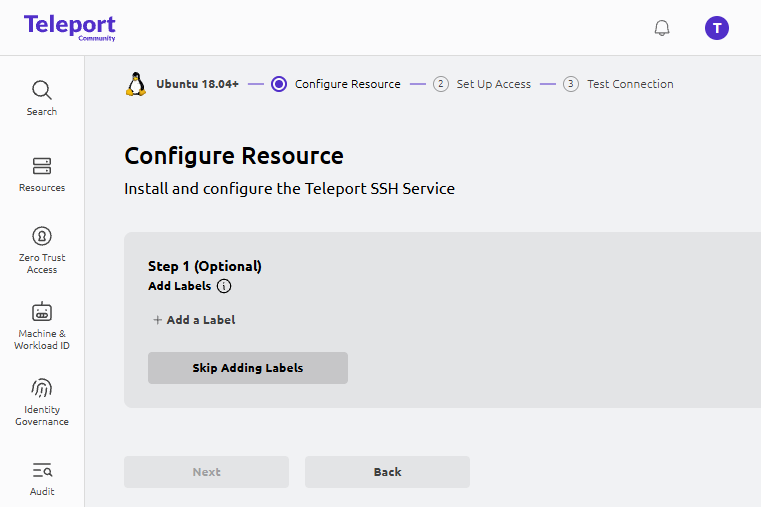
On Configure Resource:
- Step 1 (Optional) Add Labels
Click Skip Adding Labels.
This post focuses on the simplest “enroll a node” flow. You can add labels later when you start doing RBAC policies at scale.
- Run the Install Command on the Target Ubuntu Server
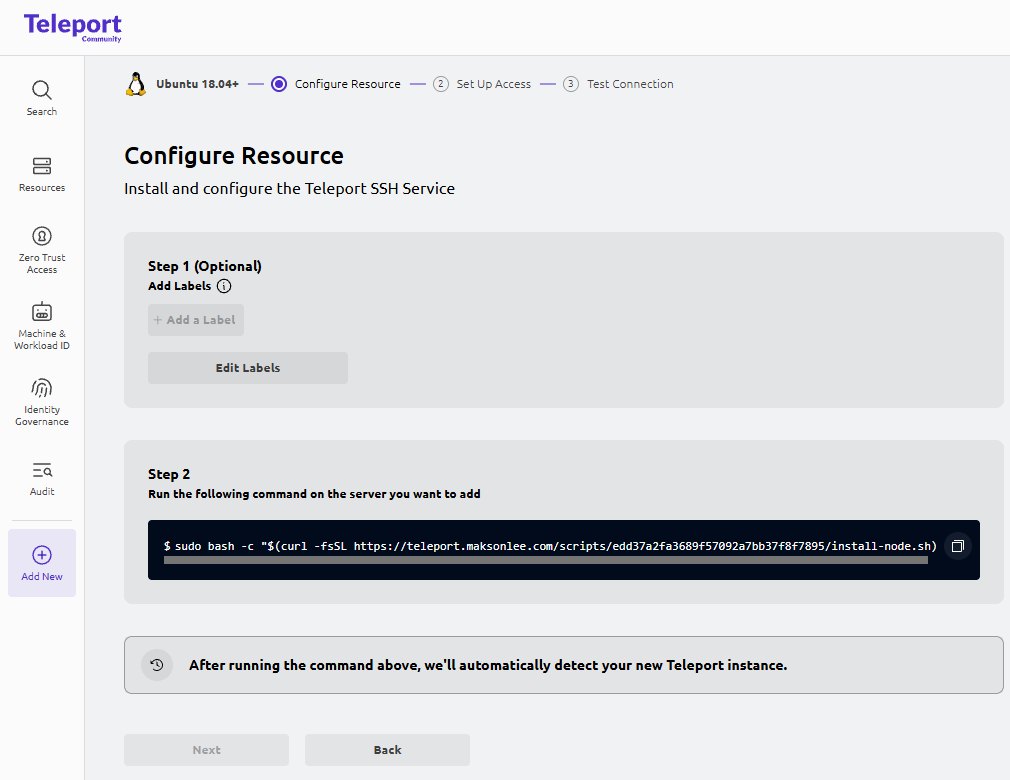
In the wizard, Teleport shows a one-liner similar to:
sudo bash -c "$(curl -fsSL https://teleport.maksonlee.com/scripts/<random>/install-node.sh)"Copy it and run it on the Ubuntu 24.04 server you want to enroll.
Expected output (example)
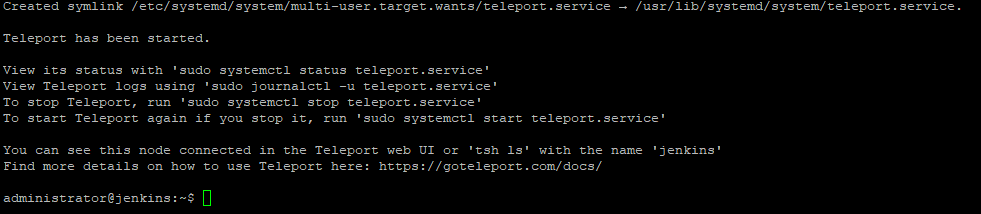
At the end, you should see messages similar to:
- Teleport service installed
- Teleport started
- A note that the node will show up in the Web UI (or
tsh ls)
- Confirm the Node Was Detected

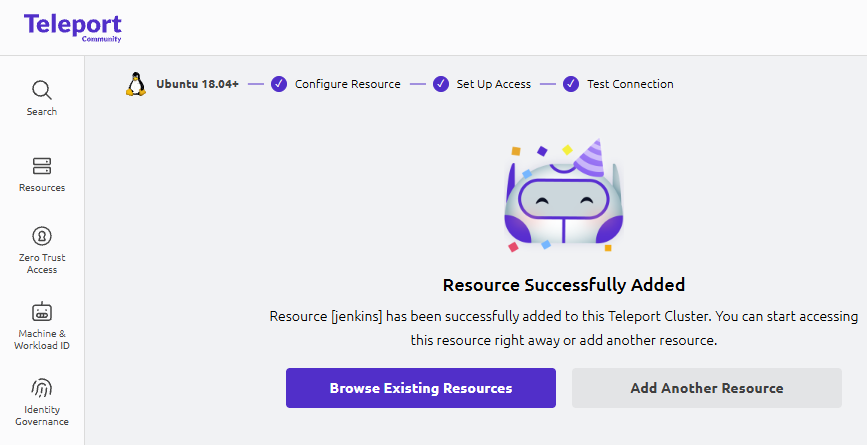
Back in the wizard, after the command finishes, Teleport will show:
Successfully detected your new Teleport instance
Click Next.
- Set Up Access (Pick OS Users)
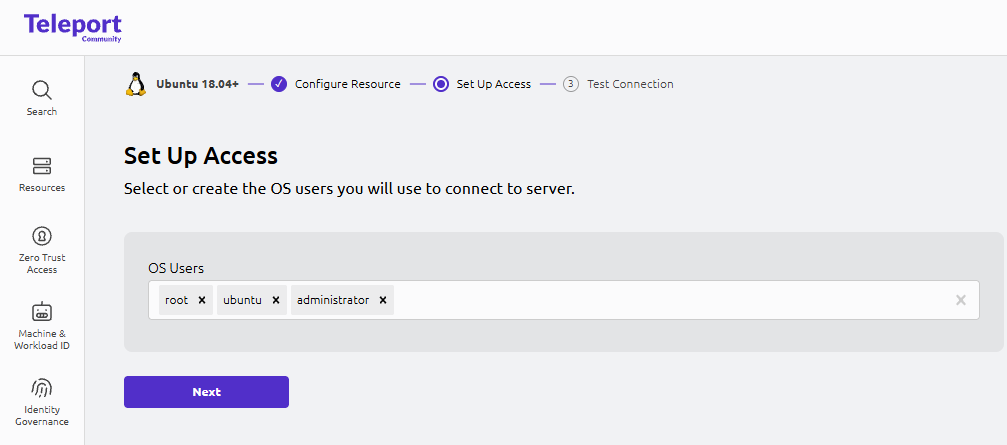
On Set Up Access, choose the Linux accounts that you want to use when connecting.
These Linux accounts must already exist on the target server (Teleport won’t create OS users).
Example:
rootubuntuadministrator
Click Next.
- Test Connection and Start a Session
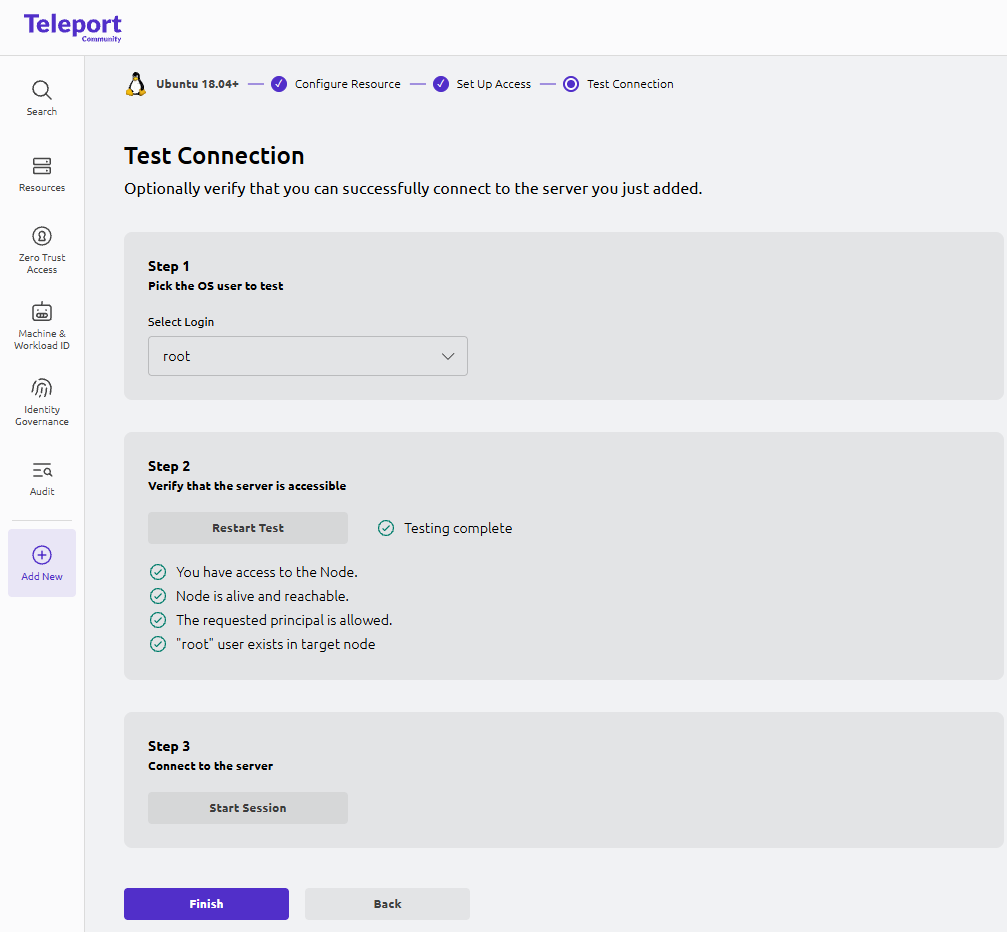
On Test Connection:
- Pick an OS user to test (example:
root). - Wait for Teleport to complete the checks:
- Node reachable
- Login allowed
- User exists on target node
Then click:
Start Session
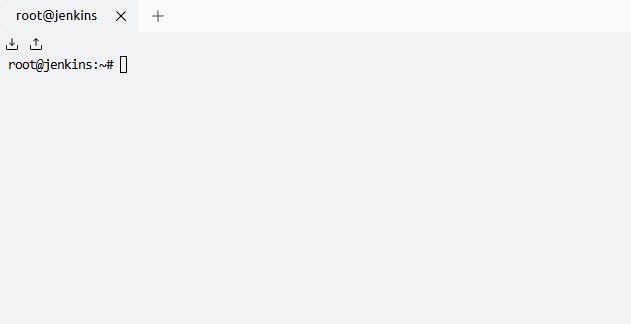
You should get an in-browser SSH terminal like:
root@jenkins:~#Click Finish.
- Verify the Server Appears Under Resources
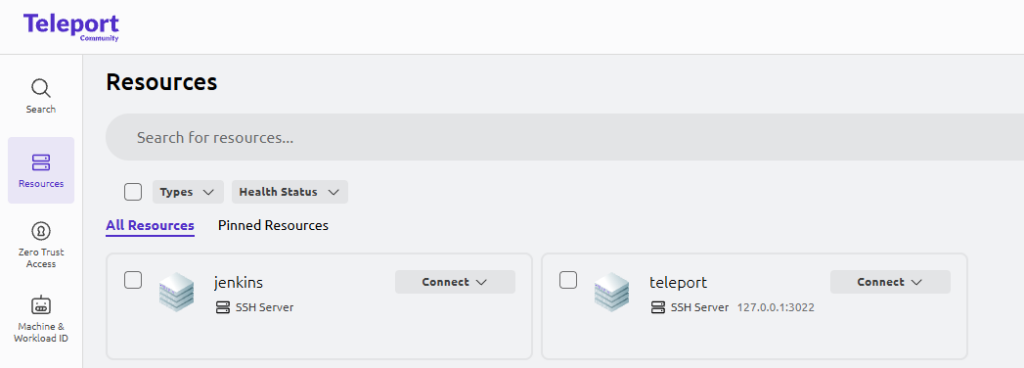
Go back to Resources.
You should now see your new server listed as an SSH resource (example: jenkins) alongside the Teleport server itself.
Did this guide save you time?
Support this site