Android Test Station (ATS) is a modern, web-based tool for running Android compatibility tests like CTS, GTS, and VTS. On Ubuntu 24.04, installing ATS requires some adjustments due to Python 3.12 incompatibility.
- Install System Dependencies
sudo apt update
sudo apt install -y make build-essential libssl-dev zlib1g-dev \
  libbz2-dev libreadline-dev libsqlite3-dev curl git \
  libncursesw5-dev xz-utils tk-dev libxml2-dev libxmlsec1-dev \
libffi-dev liblzma-dev docker.io docker-compose- Install Python 3.11 via Pyenv
Install Pyenv
curl -fsSL https://pyenv.run | bashThen add this to your ~/.bashrc (or ~/.bash_profile):
export PYENV_ROOT="$HOME/.pyenv"
[[ -d $PYENV_ROOT/bin ]] && export PATH="$PYENV_ROOT/bin:$PATH"
eval "$(pyenv init - bash)"Apply the config:
source ~/.bashrcInstall Python 3.11.13
pyenv install 3.11.13
pyenv global 3.11.13Verify:
python --version
# Python 3.11.13- Run the ATS Installer Script
Run the official install script:
curl https://storage.googleapis.com/android-mtt.appspot.com/prod/install.sh | bashYou will see this error:
./install.sh: line 84: mtt: command not foundTo resolve the error, install the CLI manually
mkdir -p ~/.local/bin
cd ~/.local/bin
curl -OL https://storage.googleapis.com/android-mtt.appspot.com/prod/mtt
chmod +x mttEnable Docker Access Without Sudo
sudo usermod -aG docker $USERLog out and log back in to ensure the new group membership is loaded properly.
- Start Android Test Station
Use the MTT CLI to start the ATS server:
mtt startThis will bring up the ATS UI in Docker.
- Access the Web UI
Now open the dashboard in your browser:
http://ats.maksonlee.com:8000/
You should see the Android Test Station interface.
- Complete the Initial Setup Wizard
After accessing http://ats.maksonlee.com:8000/ for the first time, you’ll be greeted by a welcome screen like this:
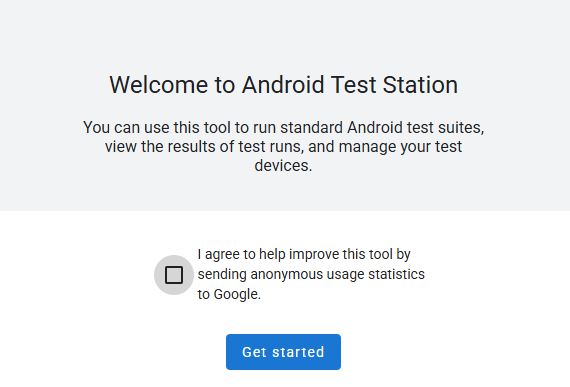
You can optionally allow Google to collect anonymous usage statistics. Click “Get started” to proceed.
- Upload a Backup Config (Optional)
If you’ve used ATS before and have a backup file, you can import it here to restore your previous Uploaded test suites, Device actions and Config sets.
If not, click Next Step.

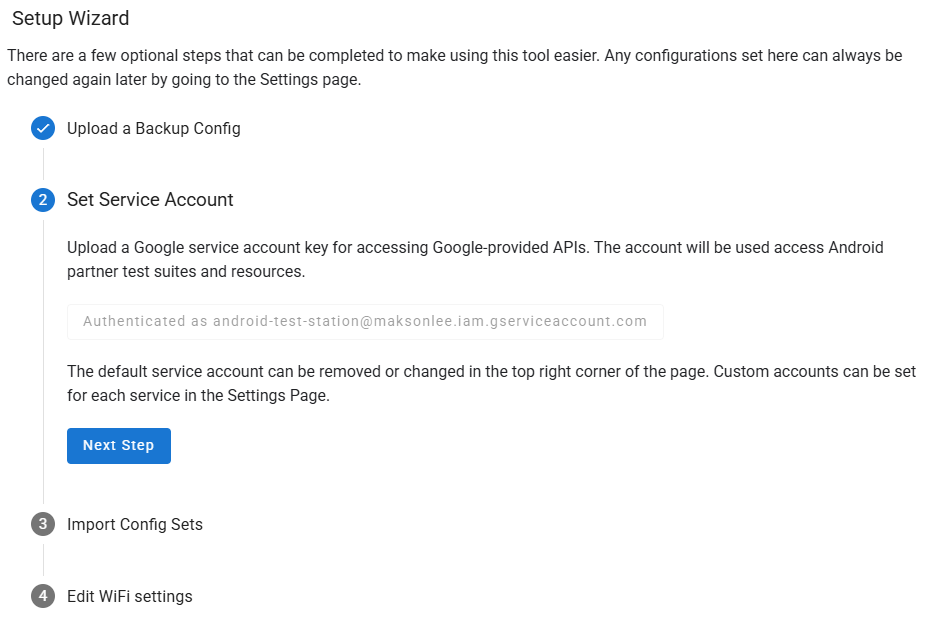
- Set Service Account
You’ll be prompted to upload a Google service account key for accessing Google-hosted partner test suites and APIs. This step is optional unless you need partner-only functionality.
If you’ve already uploaded a key, ATS will show it:
Click Next Step to proceed.
- Import Config Sets & Edit Wi-Fi (Optional)
You can import additional config sets or configure Wi-Fi settings for your test devices. These steps are optional and can also be done later in the Settings section.
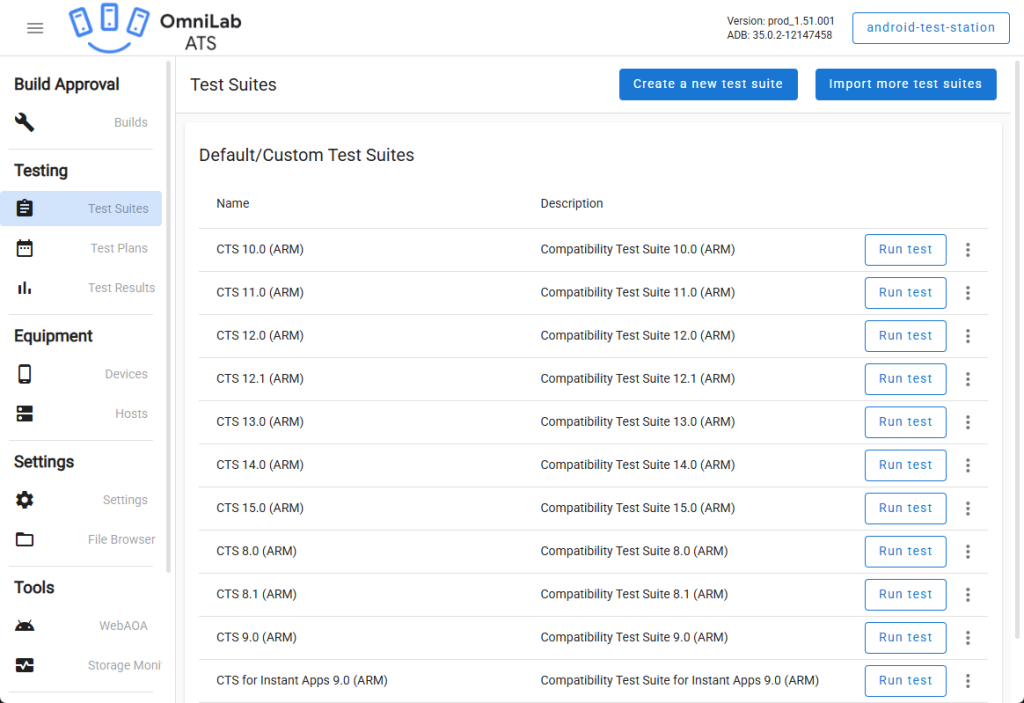
You’re Ready!
After completing the wizard, you’ll land on the full ATS dashboard, where you can:
- Upload test suites
- Manage devices
- Launch test runs
- View reports
Did this guide save you time?
Support this site