
Sometimes you want to learn Proxmox, but you don’t want to dedicate a physical machine yet.
The solution: run Proxmox VE 9 inside a KVM virtual machine.
You get:
- A single-node Proxmox lab
- Running on top of KVM on your Linux host
- Full ability to create VMs/containers inside Proxmox (nested virtualization)
- Easy to break, reinstall, snapshot, and throw away
This post shows how I installed:
- Host: Ubuntu 24.04 with KVM/libvirt
- Proxmox ISO:
proxmox-ve_9.0-1.iso - Host bridge IP:
192.168.0.84(onbr0) - Proxmox VM IP:
192.168.0.11 - CPU: AMD, nested KVM enabled
This setup is for testing and learning. It’s not meant for production workloads.
1. Lab Overview
On the KVM host:
- Physical NIC:
enp1s0 - Linux bridge:
br0 - Host IP:
192.168.0.84/24(via DHCP onbr0) - Default libvirt NAT network:
virbr0(not used for this lab)
ip a on the host:
ip a
1: lo: <LOOPBACK,UP,LOWER_UP> mtu 65536 qdisc noqueue state UNKNOWN group default qlen 1000
    link/loopback 00:00:00:00:00:00 brd 00:00:00:00:00:00
    inet 127.0.0.1/8 scope host lo
       valid_lft forever preferred_lft forever

2: enp1s0: <BROADCAST,MULTICAST,UP,LOWER_UP> mtu 1500 qdisc fq_codel master br0 state UP group default qlen 1000
    link/ether 58:47:ca:7f:be:6a brd ff:ff:ff:ff:ff:ff

4: br0: <BROADCAST,MULTICAST,UP,LOWER_UP> mtu 1500 qdisc noqueue state UP group default qlen 1000
    link/ether c6:e1:57:de:96:85 brd ff:ff:ff:ff:ff:ff
    inet 192.168.0.84/24 metric 100 brd 192.168.0.255 scope global dynamic br0
       valid_lft 46104sec preferred_lft forever

5: virbr0: <NO-CARRIER,BROADCAST,MULTICAST,UP> mtu 1500 qdisc noqueue state DOWN group default qlen 1000
    link/ether 52:54:00:07:f8:e2 brd ff:ff:ff:ff:ff:ff
    inet 192.168.122.1/24 brd 192.168.122.255 scope global virbr0
valid_lft forever preferred_lft foreverNetplan config for br0:
# /etc/netplan/50-cloud-init.yaml
network:
  version: 2
  ethernets:
    enp1s0:
      dhcp4: false
      dhcp6: false
      optional: true
  bridges:
    br0:
      interfaces: [enp1s0]
      dhcp4: true
      dhcp6: false
      macaddress: c6:e1:57:de:96:85
      parameters:
        stp: false
forward-delay: 0So:
- The host gets
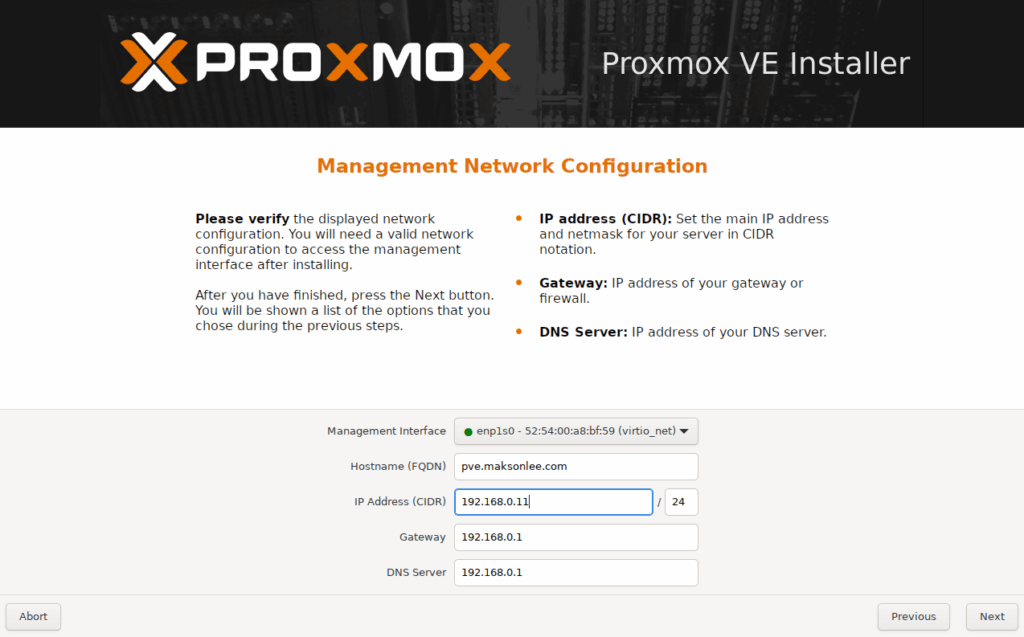
192.168.0.84onbr0. - The Proxmox VM will get its own LAN IP (
192.168.0.11in this example).
2. Check / Enable Nested Virtualization on the Host
Because Proxmox itself will run VMs, nested virtualization must be enabled on the KVM host.
- Which KVM module is used?
lsmod | grep kvm
ls /sys/module | grep kvmOn this host (AMD), kvm_amd is used, and:
cat /sys/module/kvm_amd/parameters/nested
1The 1 means nested virtualization is already enabled.
- Generic instructions
If you’re on AMD and nested is 0:
echo "options kvm_amd nested=1" | sudo tee /etc/modprobe.d/kvm-amd.conf
sudo rebootAfter reboot:
cat /sys/module/kvm_amd/parameters/nested
# should print 1If you’re on Intel:
echo "options kvm_intel nested=1" | sudo tee /etc/modprobe.d/kvm-intel.conf
sudo rebootAfter reboot:
cat /sys/module/kvm_intel/parameters/nested
# should print Y3. Download the Proxmox VE 9 ISO
Download the Proxmox VE 9 ISO on the host and put it somewhere like ~/iso:
mkdir -p ~/iso
# (Download proxmox-ve_9.0-1.iso via browser or wget)
ls ~/iso
proxmox-ve_9.0-1.isoIn this example, the ISO is placed at:
/var/lib/libvirt/images/proxmox-ve_9.0-1.iso
4. Create the Proxmox VM in KVM (Cockpit)
These steps use Cockpit → Virtual Machines on Ubuntu 24.04.
- “Create new virtual machine” (Details tab)
In Cockpit:- Go to Virtual Machines.
- Click Create → Virtual Machine.
- Fill in the Details tab:
- Name:
proxmox - Connection:
System - Installation type:
Local install media (ISO image or distro install tree) - Installation source:
/var/lib/libvirt/images/proxmox-ve_9.0-1.iso - Operating system:
Debian 13 (trixie) - Storage:
Create new qcow2 volume - Storage limit:
60 GiB - Memory:
16 GiB
Click Create and edit.
- Adjust hardware before boot
After “Create and edit”, open the VM settings and:- Change vCPUs from
1to4.
- Change vCPUs from
Everything else can stay at the Cockpit defaults for this simple lab.
Then start the VM. It will boot from the Proxmox ISO into the installer.
5. Install Proxmox VE 9 Inside the VM
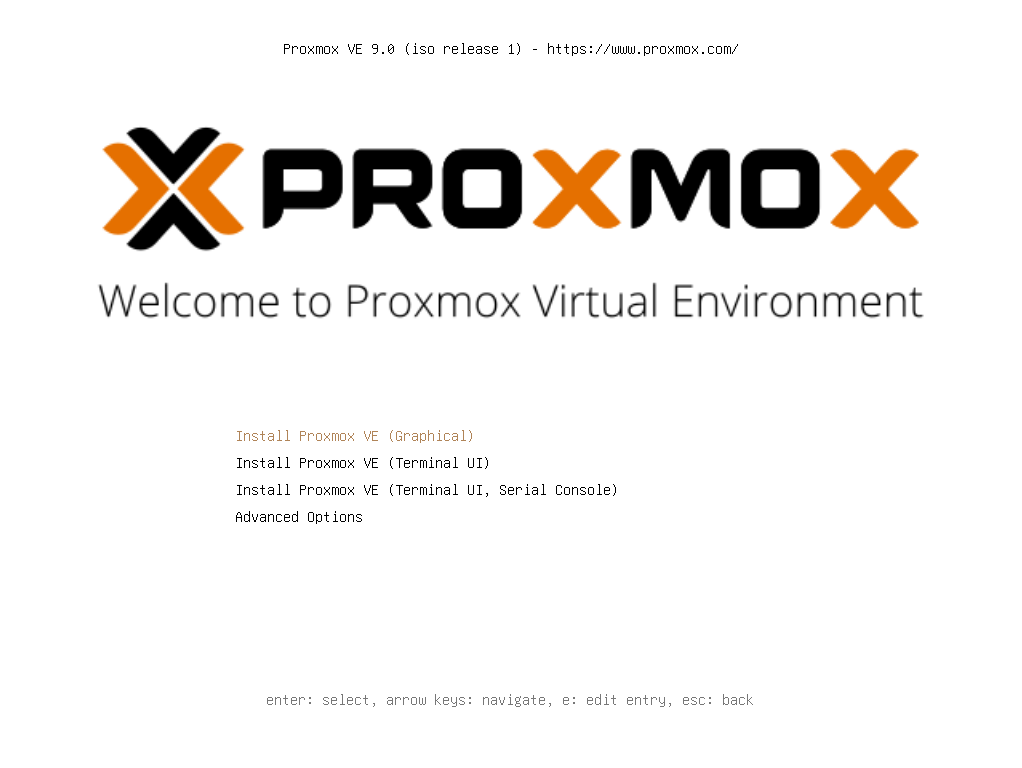
- Boot the Proxmox installer
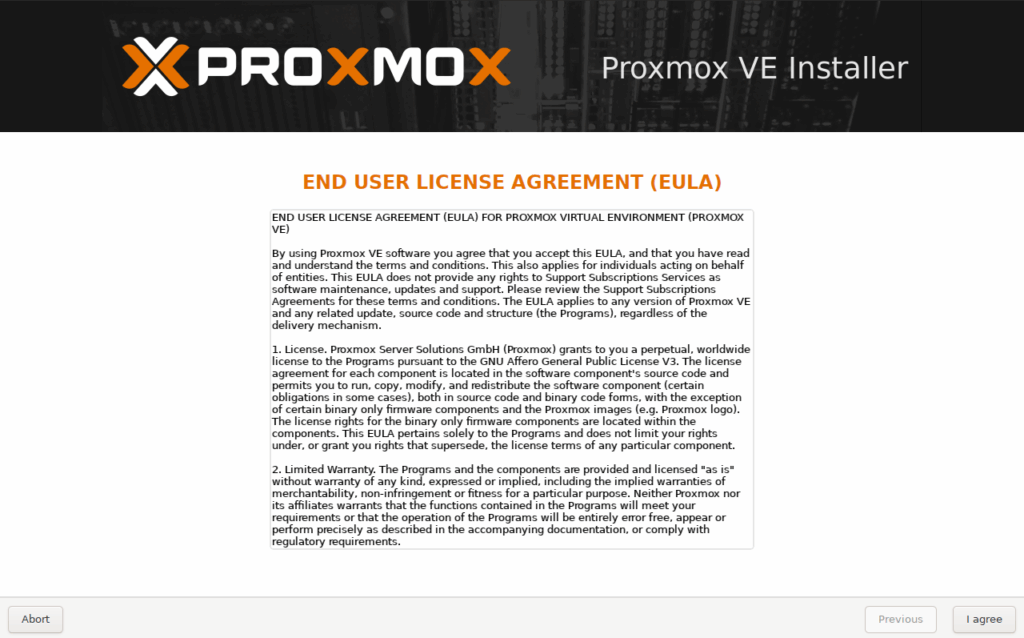
- Accept the EULA
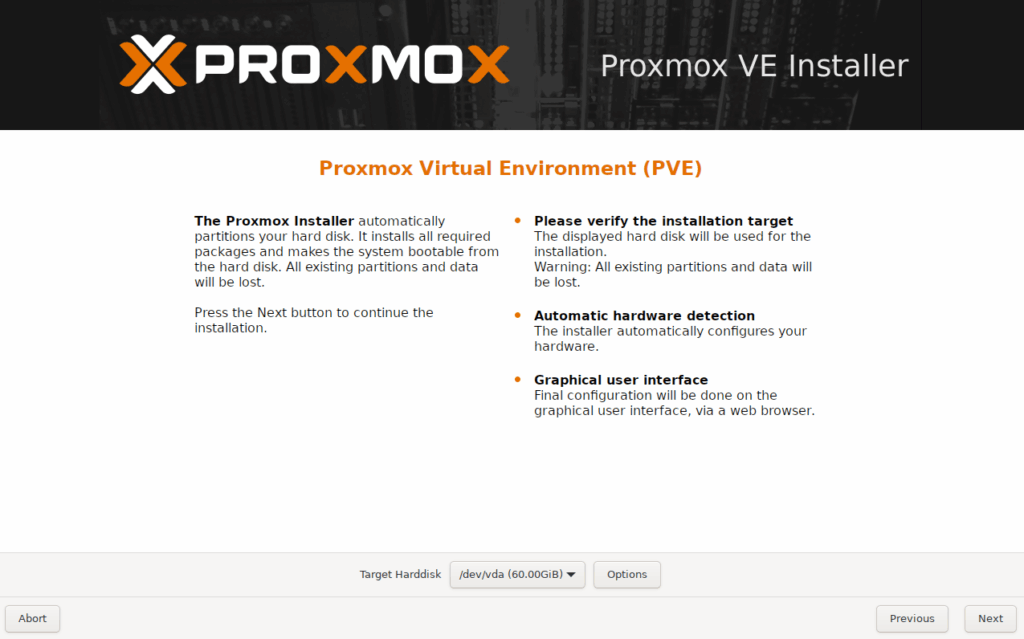
- Target disk and filesystem
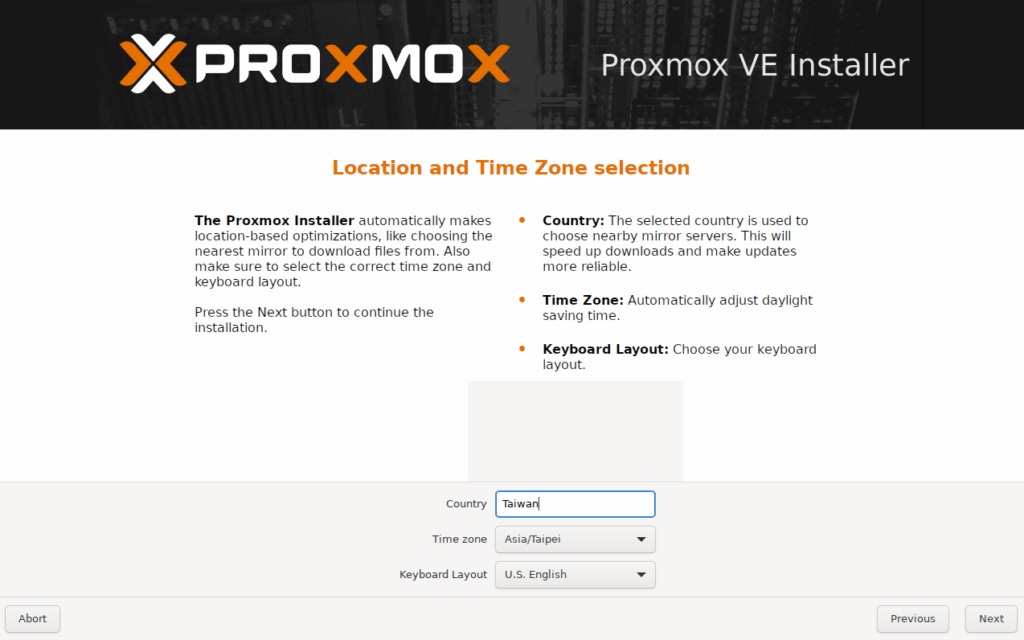
- Location, time zone, keyboard
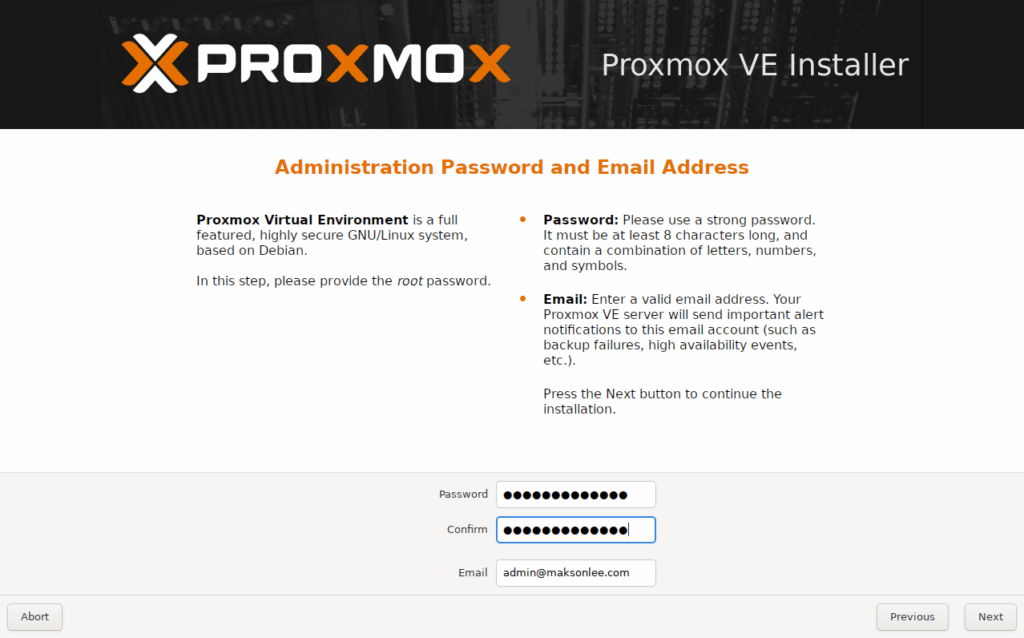
- Root password and email
- Management network configuration
- Summary and installation

If everything looks good:
- Leave Automatically reboot after successful installation checked.
- Click Install.
Proxmox will install and then reboot the VM.
6. First Boot and Web UI Login
After reboot, the VM console prints something like:
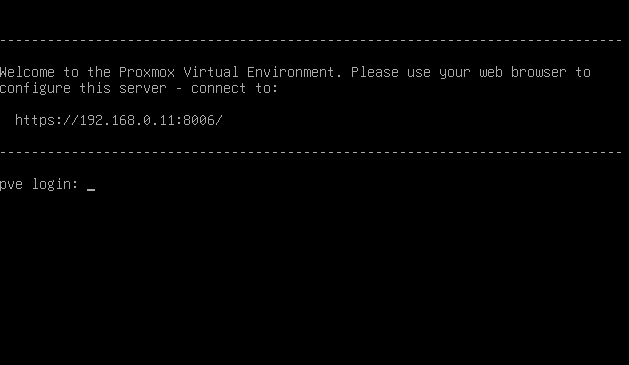
From a browser on your LAN:
- Open
https://192.168.0.11:8006/. - Accept the self-signed certificate warning.
- Log in:
- User name:
root - Password: the one set during install
- Realm:
Linux PAM standard authentication
- User name:
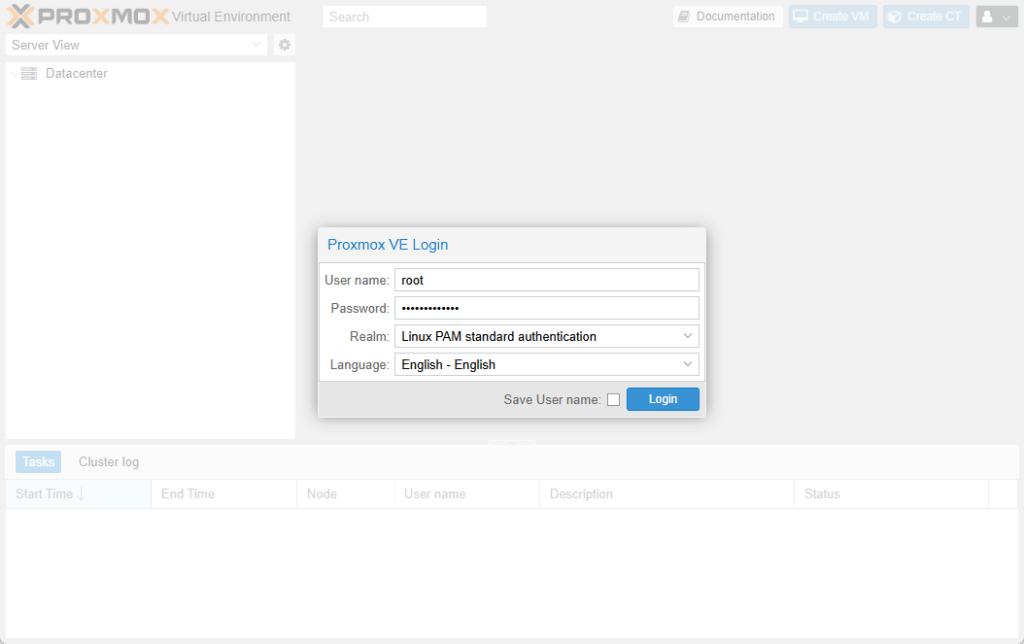
You should now see the Proxmox web interface: Datacenter on the left with your node (e.g. pve) under it.
